Alerts and Alarms
Overview
Section titled “Overview”Transpeye distinguishes between several types of exception events. Alerts are triggered when a transaction or event matches a policy rule — they represent the primary investigative record in the system. Alarms are events received from physical security alarm systems. Access Control Events are door and entry events from access control hardware. Till Events are low-level hardware events from tills, such as cash drawer openings. Video Analytics Events are detections raised by camera-based analytics, such as object or motion detection. Each event type has its own dedicated page in the Forensics section of the navigation bar.
Step-by-Step Guide
Section titled “Step-by-Step Guide”Step 1: View the Alerts List
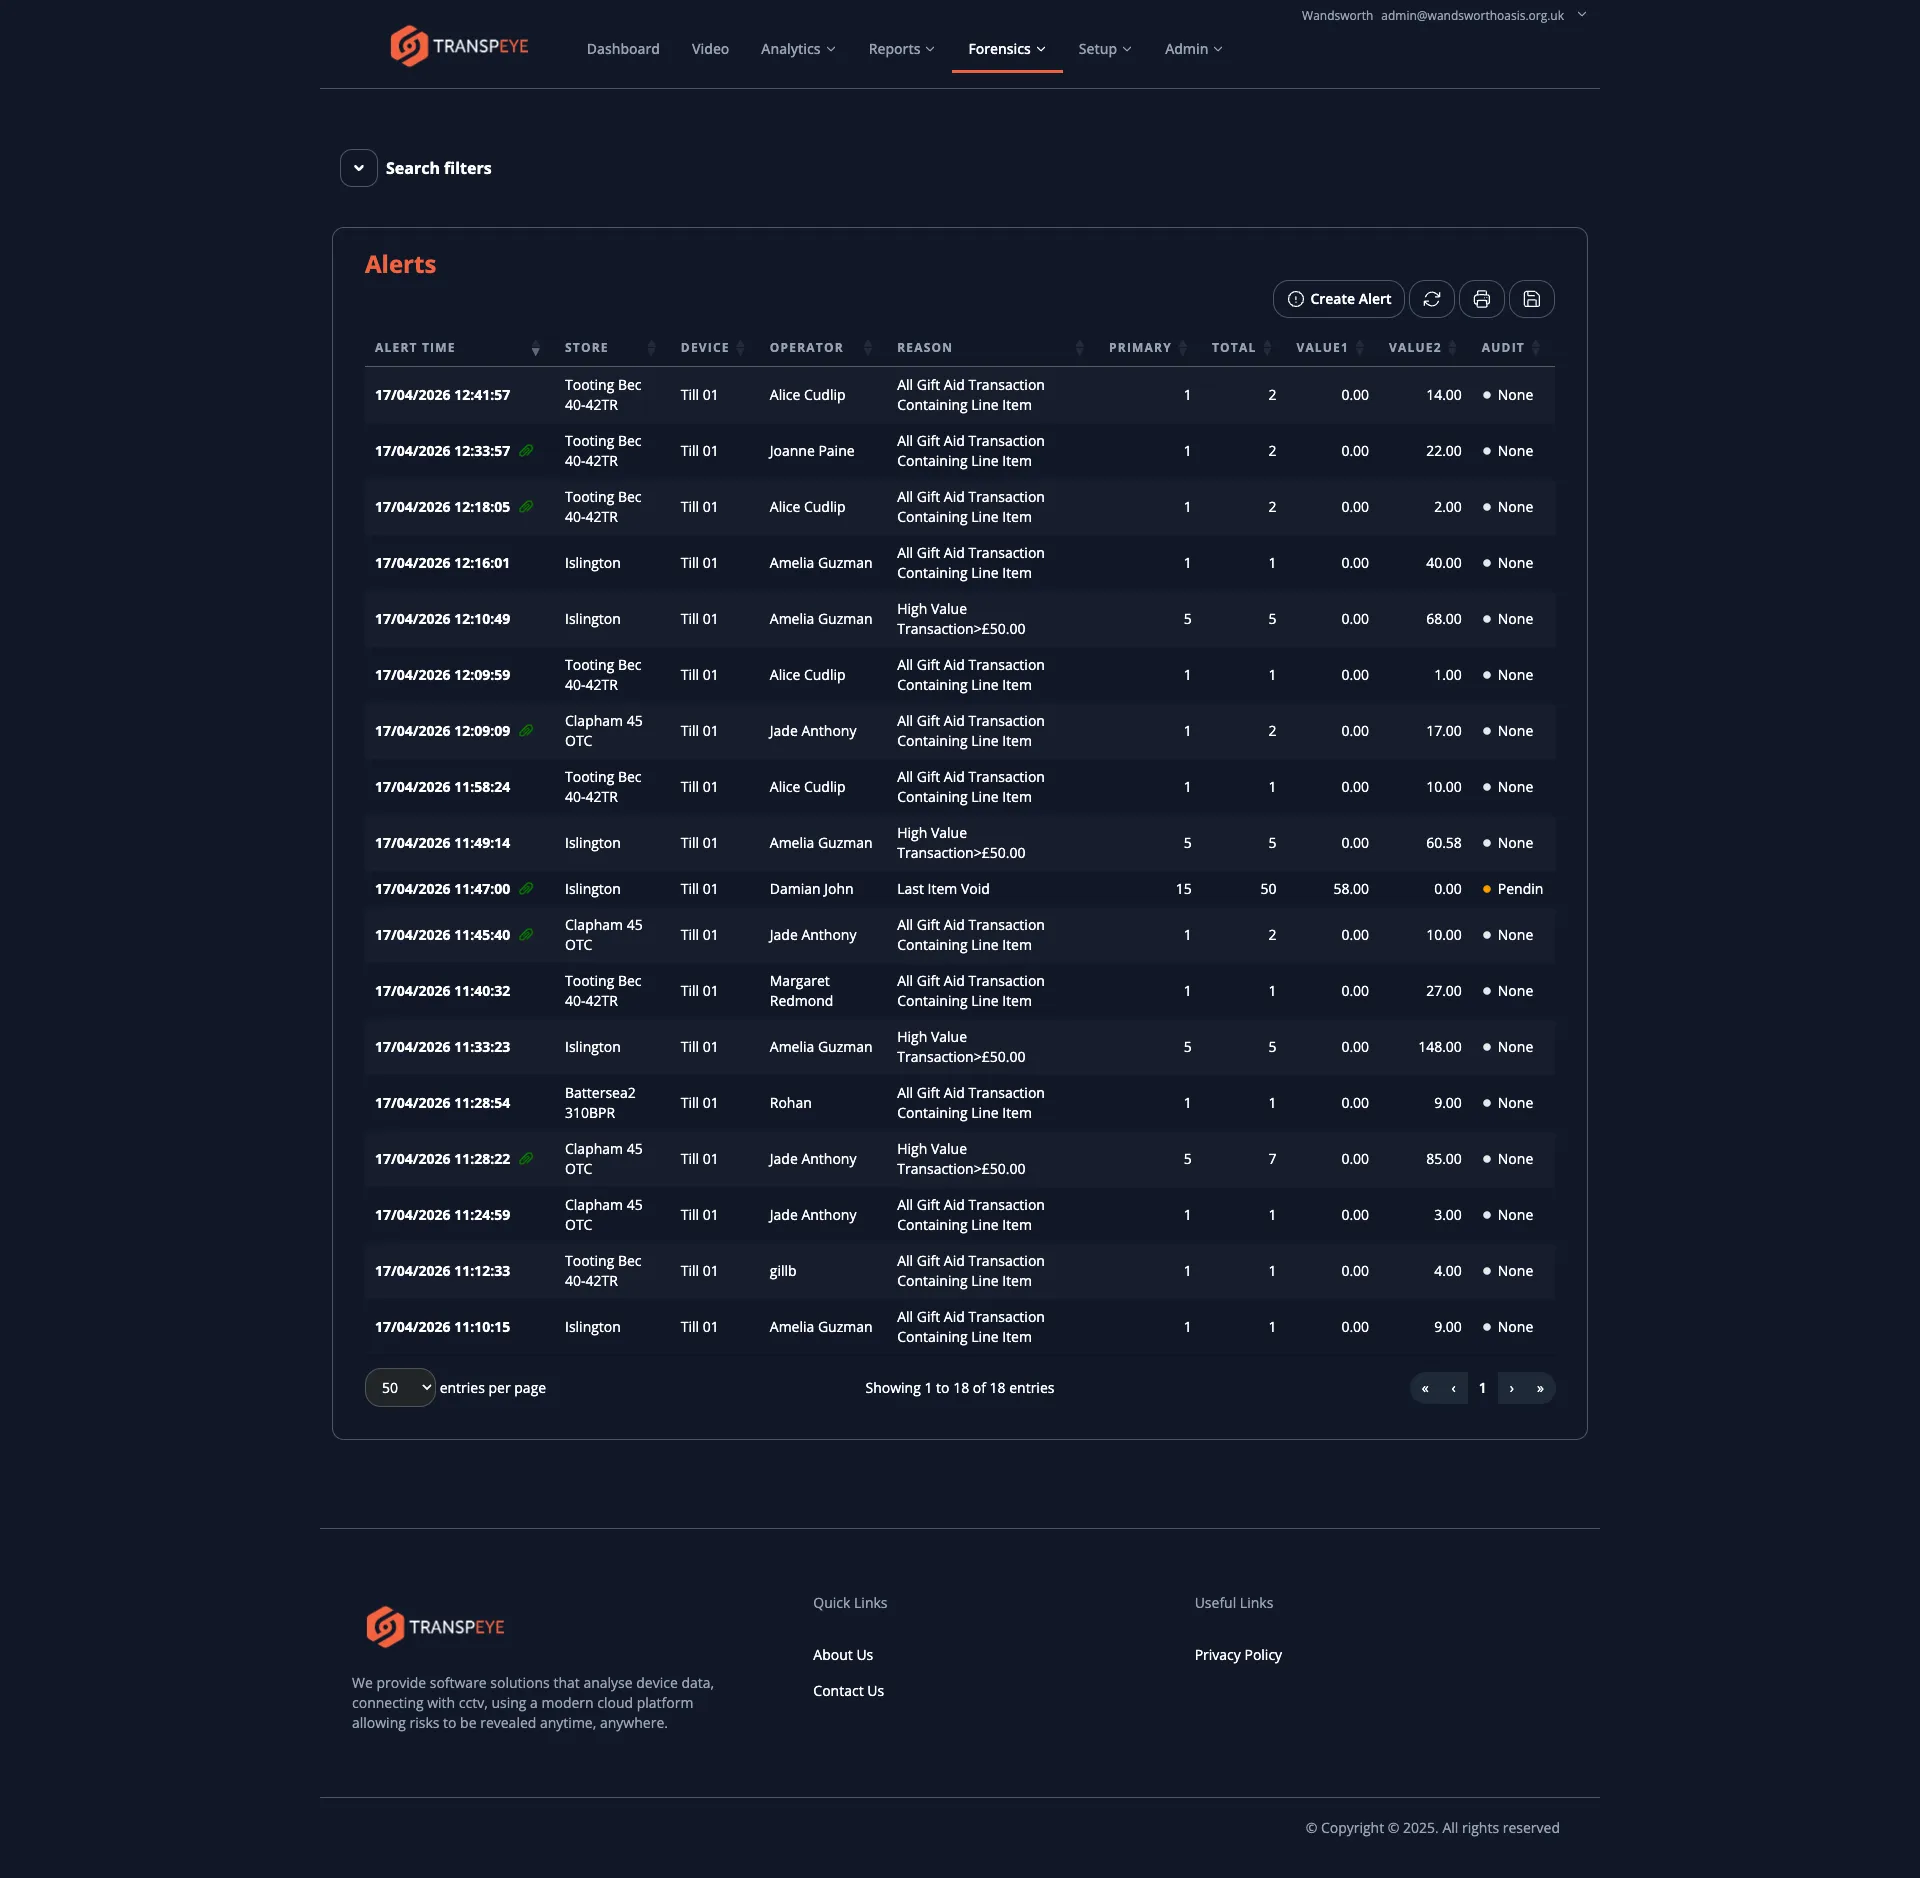
Section titled “Step 1: View the Alerts List”In the navigation bar, click Forensics, then click Alerts. The alerts table at /alerts loads, showing all policy-triggered alerts for your account within the current filter period.
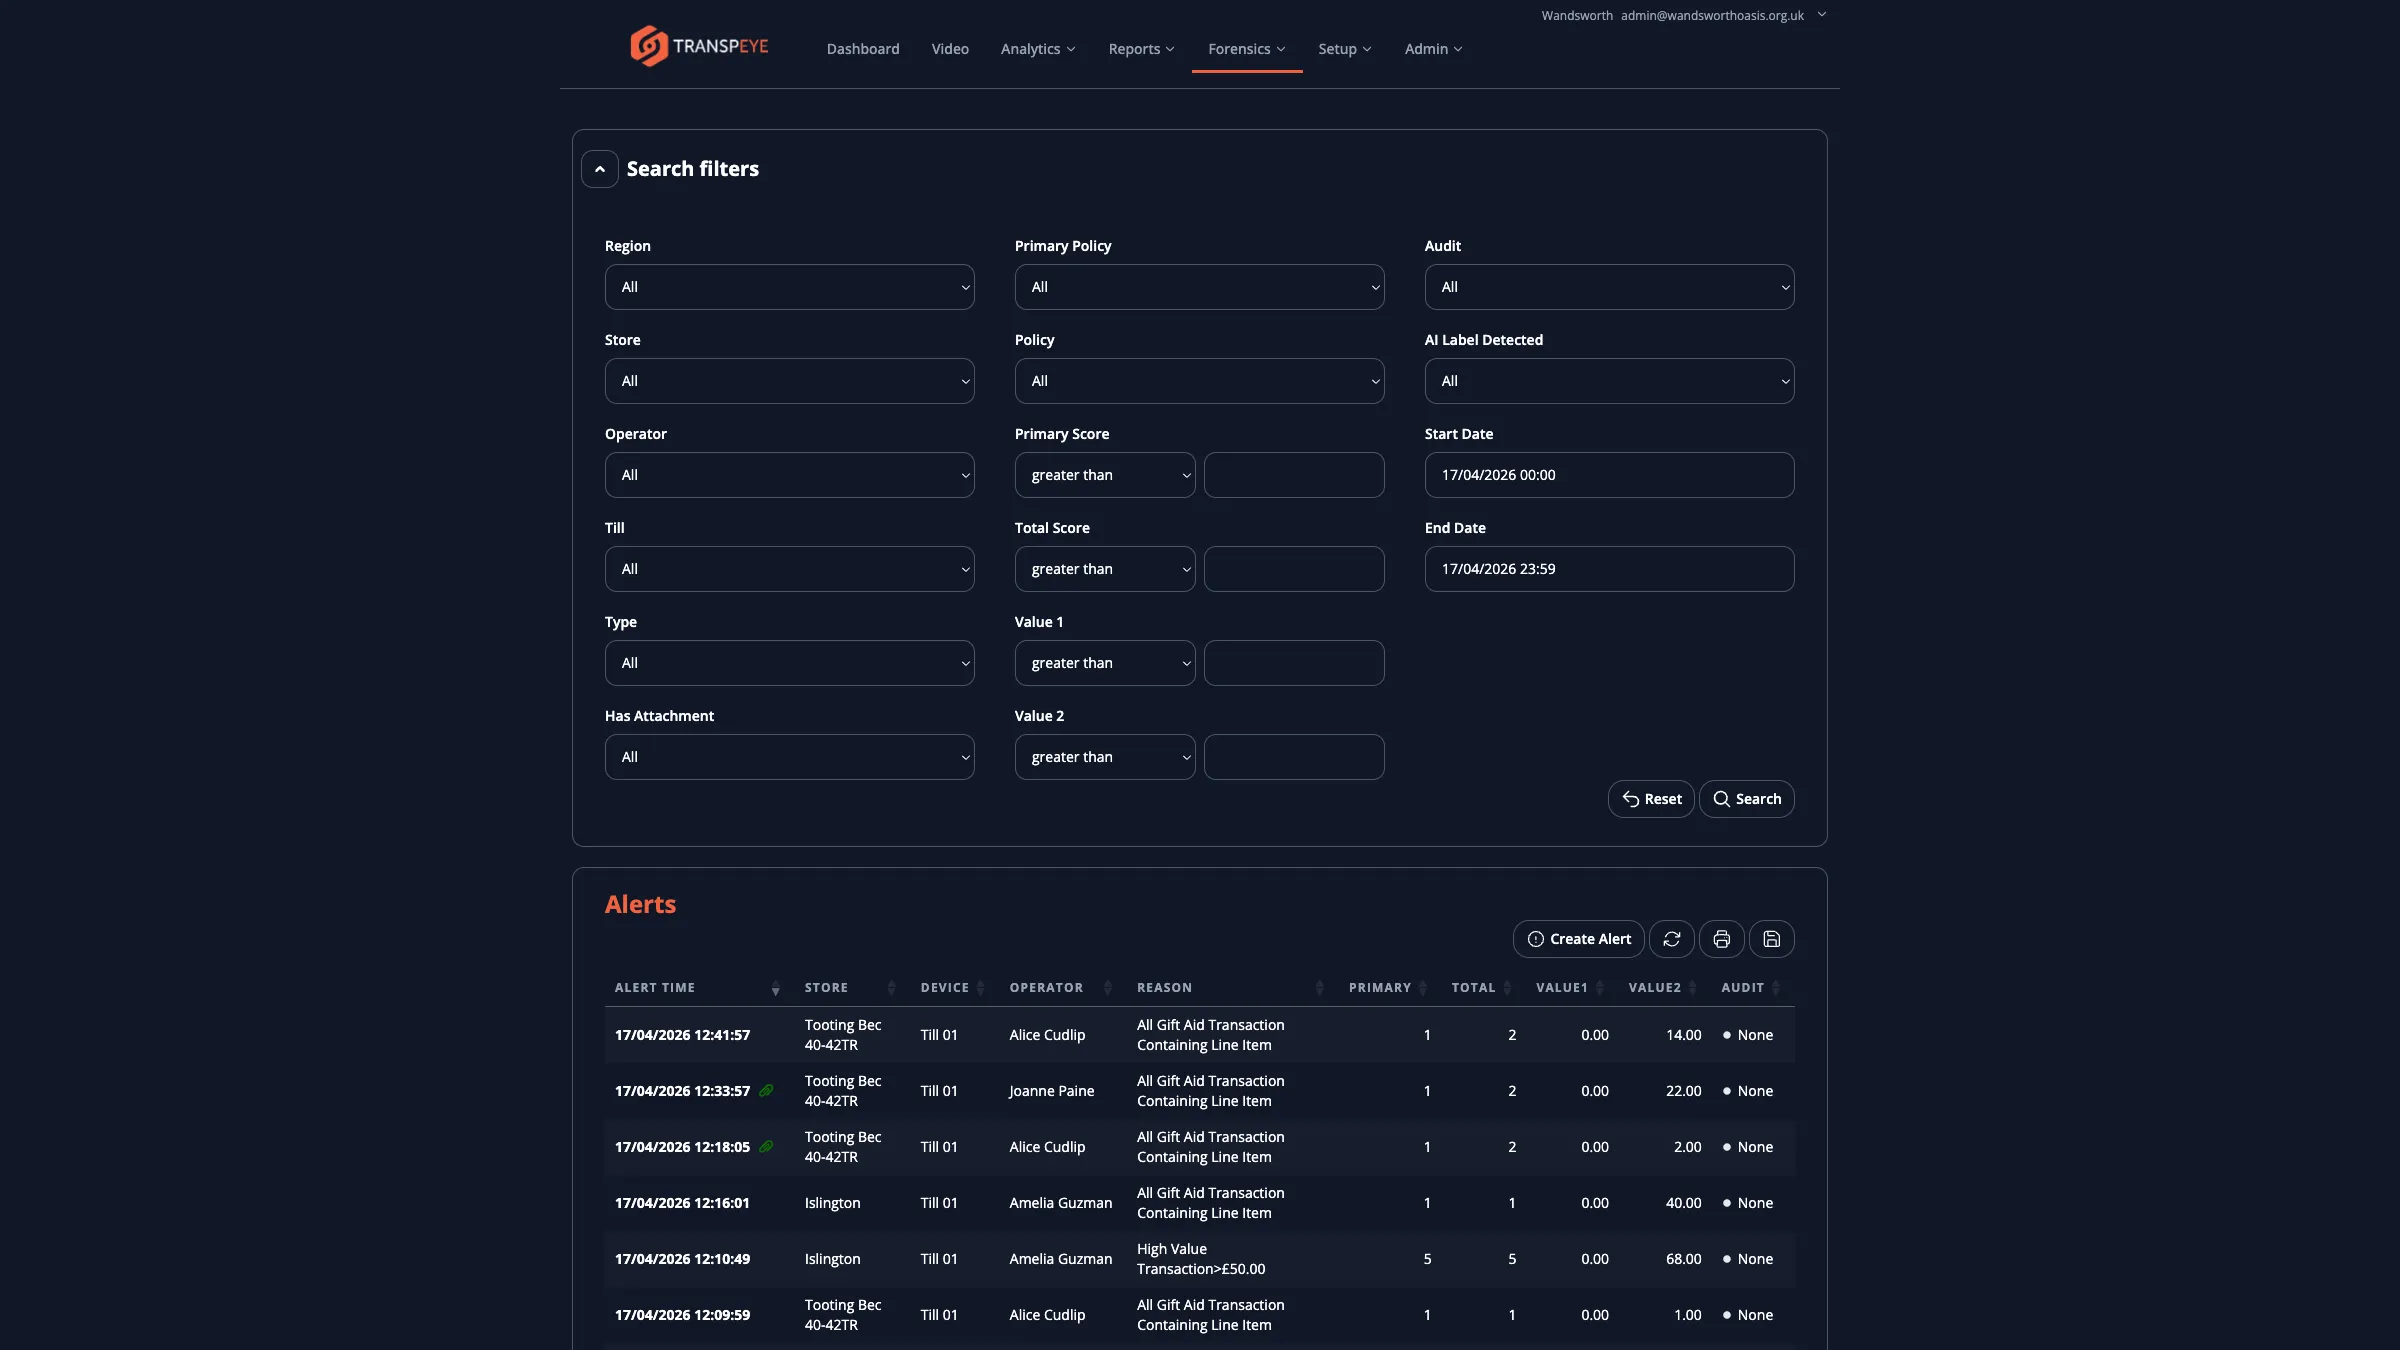
The alerts table contains the following columns:
| Column | Description |
|---|---|
| Alert Time | The date and time the alert was generated |
| Store | The store where the triggering event occurred |
| Device | The till, camera, or access control device that generated the event |
| Operator | The operator associated with the event, if applicable |
| Reason | The name of the policy that was matched (for example, “High Value Discount”) |
| Primary | The primary financial value of the event (for example, the transaction total) |
| Total | The aggregate financial value across linked events, where applicable |
| Value1 / Value2 | Additional context values depending on the policy type |
| Audit | The current audit status, if an audit workflow has been applied |
Step 2: Filter and Sort the Alerts List
Section titled “Step 2: Filter and Sort the Alerts List”The Search Filters panel above the table works the same way as on the Transactions page. You can filter alerts by date range, store, region, operator, device, and policy reason. Click any column header to sort. The default sort is Alert Time descending.
Step 3: Open an Alert Detail View
Section titled “Step 3: Open an Alert Detail View”Click any row in the alerts table to open the full alert detail. The detail view shows the triggering event, the policy that matched it, the associated transaction or event record, any attached screenshots or CCTV clips, and the full audit trail.
If Case Management is enabled for your account, the detail view also includes an “Add to case” control. Use this when the alert should become evidence in an investigation case. See Case Management for the full case workflow.
Step 4: Create a Manual Alert
Section titled “Step 4: Create a Manual Alert”If you need to raise an alert that was not automatically triggered by a policy, click “Create Alert” at the top of the alerts page. A form appears where you can specify the store, device, operator, reason, and time of the manual alert. This is useful for recording incidents that the system did not capture automatically.
Step 5: View the Alarms List
Section titled “Step 5: View the Alarms List”In the navigation bar, click Forensics, then click Alarms. The alarms table at /alarms shows physical security alarm events received from alarm panels connected to Transpeye.
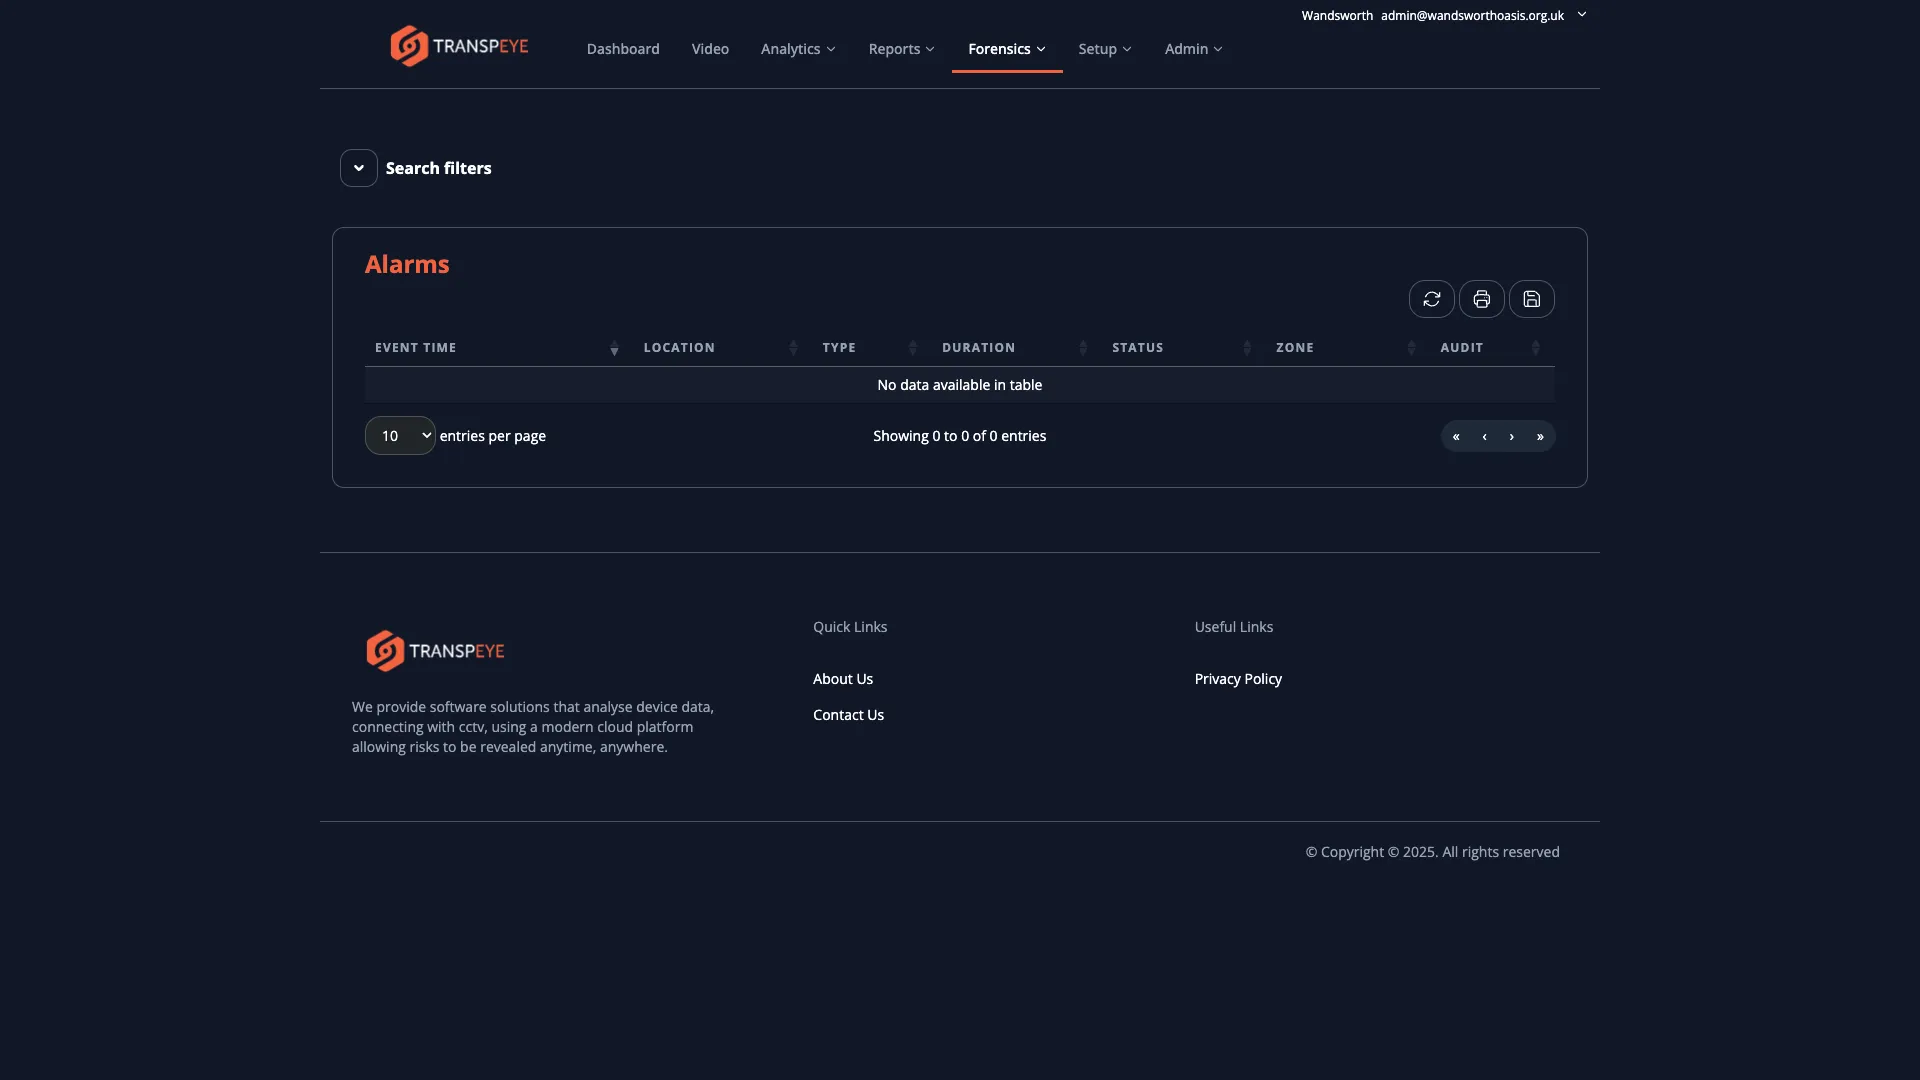
Each alarm record shows the time the alarm was triggered, the associated store and device, and the alarm type. Click any row to open the alarm detail view, which includes any video clips captured in response to the alarm event.
Step 6: View Access Control Events
Section titled “Step 6: View Access Control Events”In the navigation bar, click Forensics, then click Access Control. The access control events table at /access_control_events shows door and entry events from connected access control hardware.
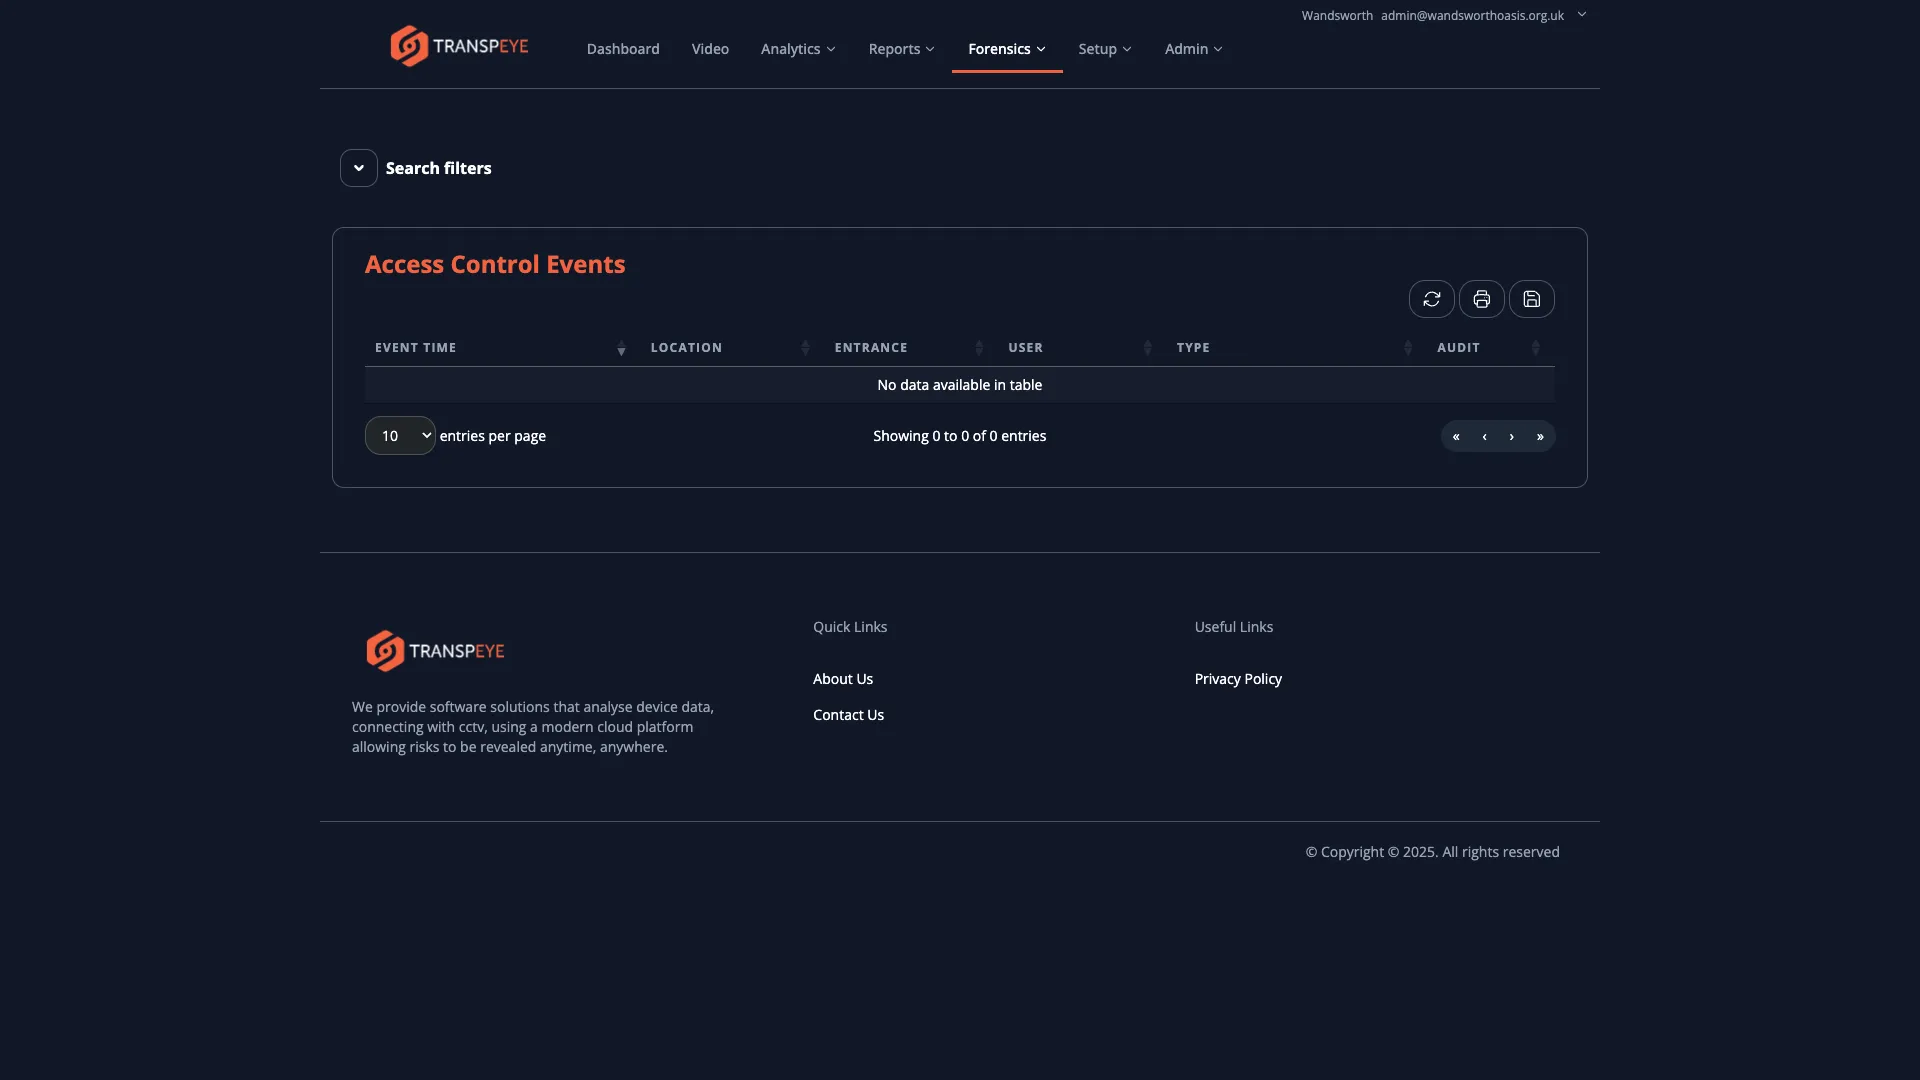
Each access control event record includes the event time, the door or zone where the event occurred, the credential used to gain access (for example, a card ID), and whether access was granted or denied. Click any row to open the event detail view.
Step 7: View Till Events
Section titled “Step 7: View Till Events”In the navigation bar, click Forensics, then click Till Events. The till events table at /till_events shows low-level events from connected tills that fall outside the standard transaction record — for example, cash drawer open events, no-sale actions, or till login and logout events.

Each till event record shows the event time, the store, the till, the operator, and the event type. Click any row to open the event detail view.
Step 8: View Video Analytics Events
Section titled “Step 8: View Video Analytics Events”In the navigation bar, click Forensics, then click Video Analytics. The video analytics events table at /video_events shows detections raised by camera-based video analytics processing.
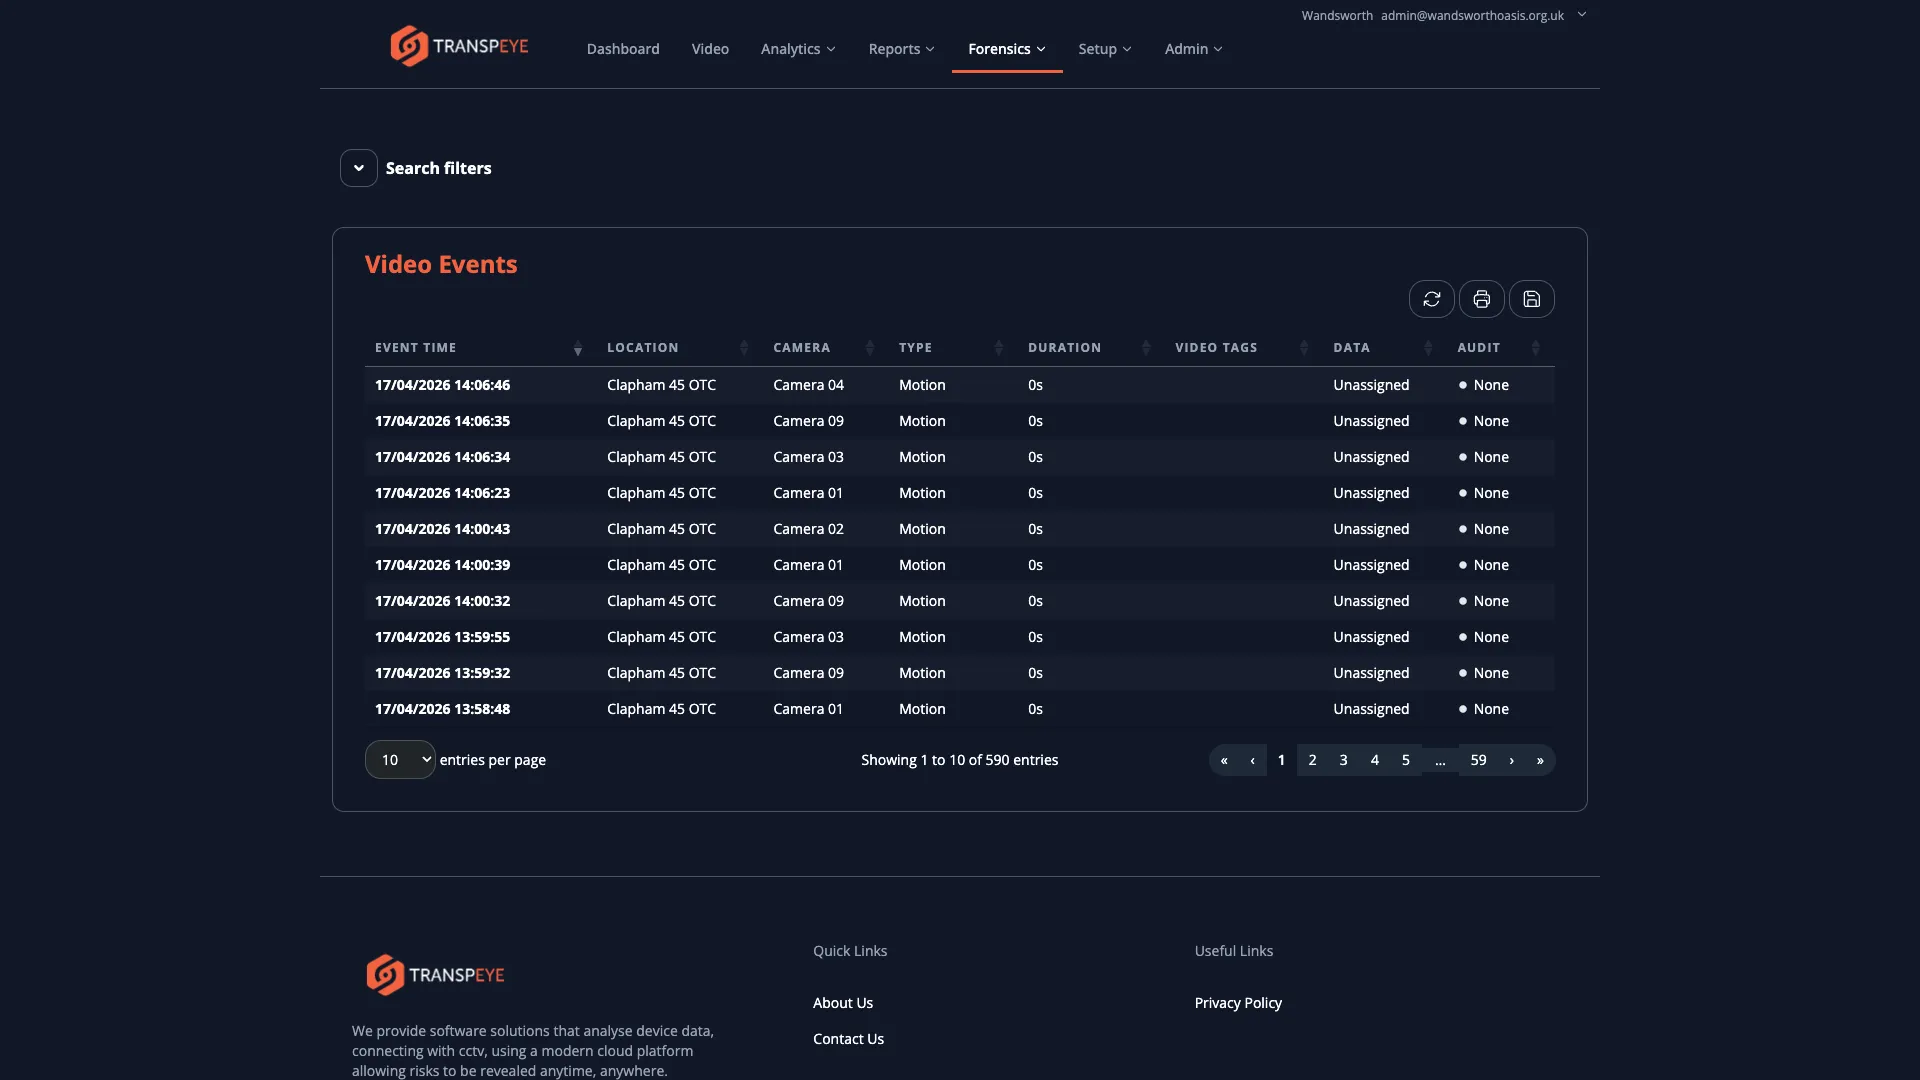
Each video analytics event record includes the detection time, the camera that raised it, the type of detection (for example, a person or vehicle), and any linked video clip. Click any row to open the event detail view and view the captured footage or snapshot.
If the event is relevant to an investigation, use “Add to case” on the event detail page to link it to an existing case or create a new one.
- Use the Reason filter on the Alerts page. If you are investigating a specific policy (for example, all high-value refunds), filtering by Reason narrows the list to exactly the policy you are reviewing.
- Check the Audit column. Alerts assigned to an audit workflow show their current audit status in the Audit column. Use this to track which alerts have been reviewed, are pending, or have been resolved.
- Alarms and access control events complement transaction data. If a till alert fires at the same time as an access control door event, this combination can indicate a coordinated incident. Use the time filter to cross-reference events across sections.
- Video analytics events can pre-empt transactions. A person-detection event at a till before a suspicious transaction can provide useful corroborating evidence. Check the video analytics events table when investigating camera-facing tills.
- Manual alerts are auditable. Any alert you create manually is recorded in the system with your username and the creation time, creating a clear audit trail.
- Use cases for multi-item investigations. When several alerts or video events relate to the same issue, add them to a case so the evidence, notes, and export pack stay together.
Troubleshooting
Section titled “Troubleshooting”| Problem | Solution |
|---|---|
| The Alerts page shows no results | Check the date range filter — alerts outside the selected period are not shown. Widen the range or click “Reset Filters”. |
| No CCTV clip is attached to an alert | The policy may not include the CCTV action, or the CCTV agent may not have been running at the time of the alert. Check your policy configuration under Setup > Policies. |
| The Create Alert button is not visible | Your user role may not include permission to create manual alerts. Contact your administrator. |
| The Add to case button is not visible | Case Management may not be enabled for the selected customer, or your role may not include Forensics access. |
| Alarms page shows no data | Your site may not have a physical alarm system integrated with Transpeye, or no alarm events have been received. Confirm your alarm integration with your administrator. |
| Access control events are missing | Your site may not have access control hardware integrated. Contact your administrator to check the integration status. |
| A video analytics event has no video clip | The camera may not have been configured to capture footage on detection, or the clip may have expired under your data retention policy. |