Cameras, Tills, and Agents
Overview
Section titled “Overview”Transpeye collects surveillance and transaction data through three types of field devices: Cameras, Tills, and Agents. Each type serves a distinct role in the data collection pipeline. Cameras provide video analytics and people-counting feeds, tills represent point-of-sale terminals whose transaction data is analysed for anomalies, and agents are the software processes running on-site that collect and relay data to the Transpeye platform.
This guide covers creating and managing all three device types. All three pages are accessible from the left-hand navigation menu when you are operating in a customer’s context.
Cameras
Section titled “Cameras”Overview
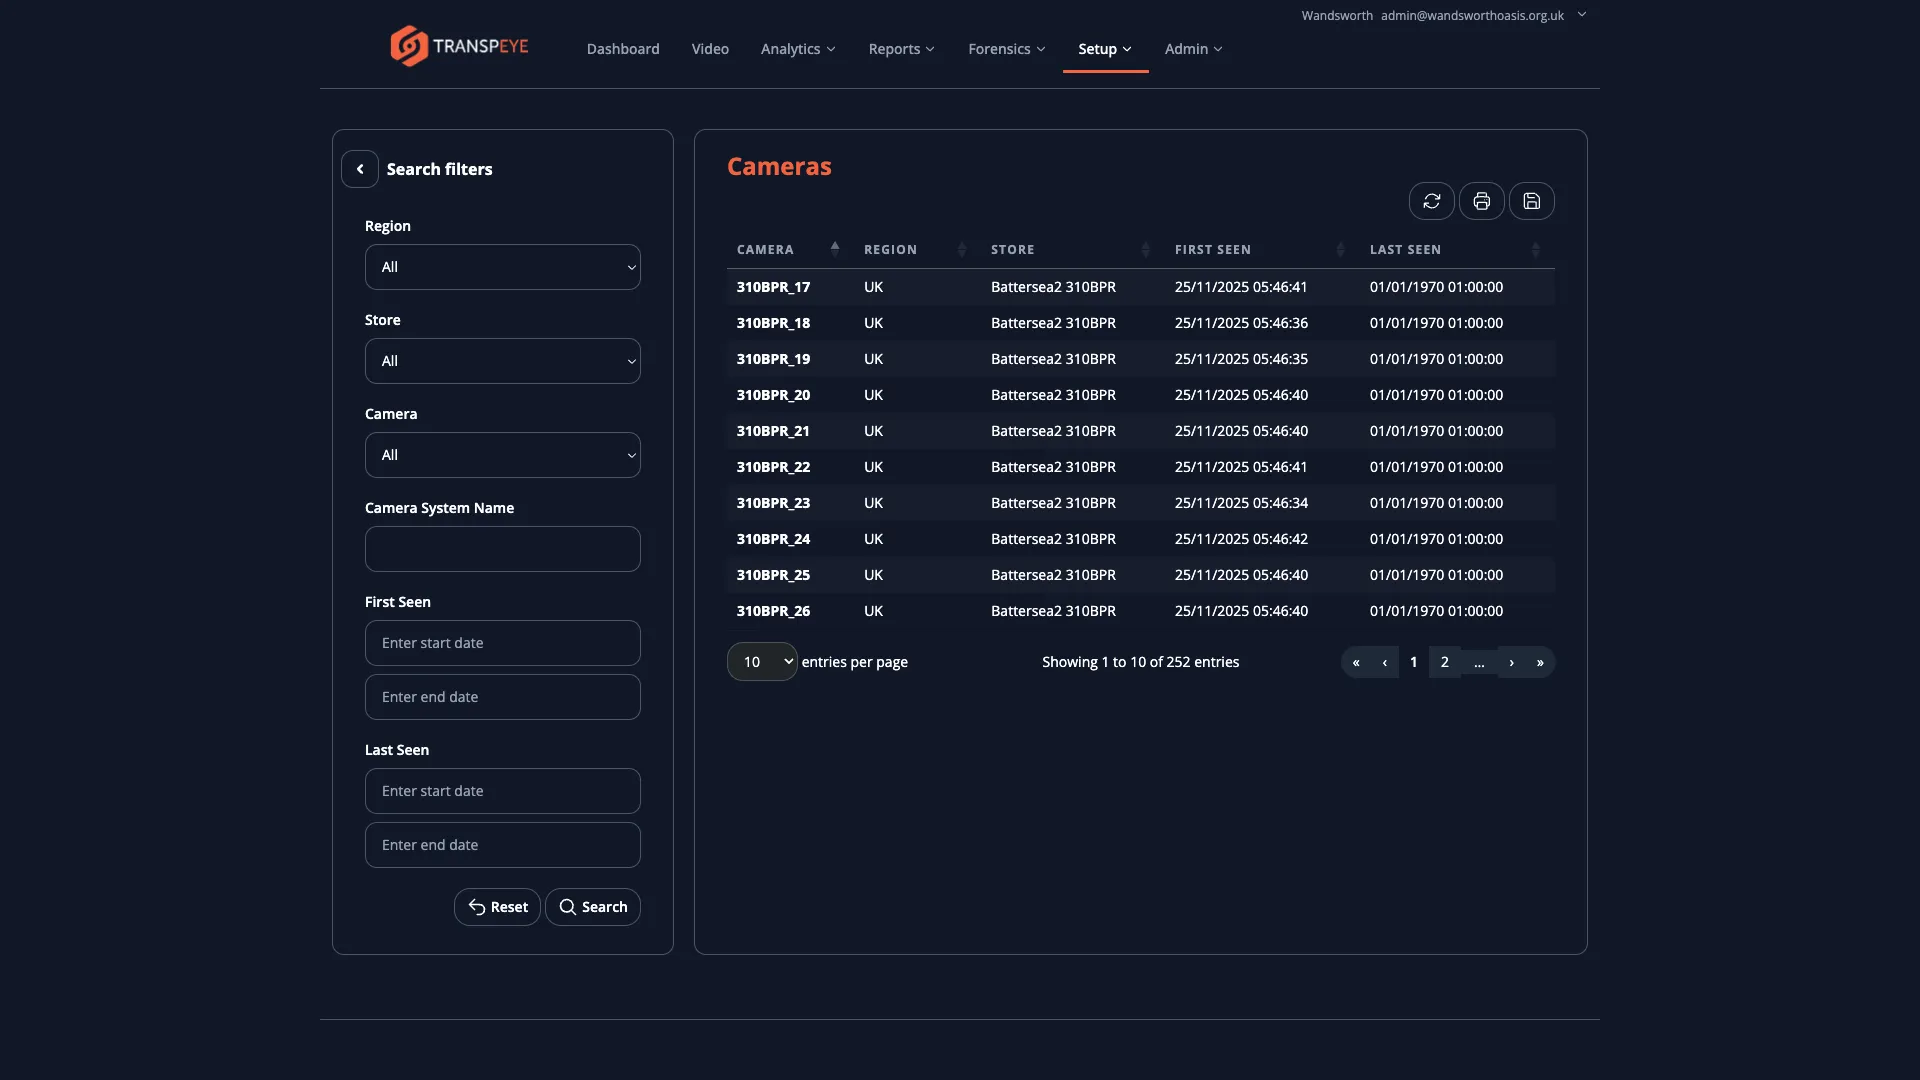
Section titled “Overview”The Cameras page (/cameras) lists every camera registered to the active customer account. Cameras in Transpeye are not video players — they are configuration records that tell the platform what the device is, where it is installed, and which analytics it should perform.
Step-by-Step Guide
Section titled “Step-by-Step Guide”Step 1: Open the Cameras Page
Section titled “Step 1: Open the Cameras Page”Select Cameras in the left-hand navigation menu. The page displays a table with the following columns:
- Camera Name — a descriptive label for the camera
- Type — the camera model or category (for example, Hikvision, Axis, or Generic IP)
- IP Address — the local network address of the camera on the customer’s site network
- Store — the store location to which this camera is assigned
Step 2: Create a New Camera Record
Section titled “Step 2: Create a New Camera Record”- Select “Add Camera” above the table. The camera creation form opens.
- Enter a Camera Name that clearly identifies the device (for example, “Checkout Lane 1 — North” or “Entrance Cam A”).
- Select the Type from the available options. This determines which analytics capabilities are available for the camera.
- Enter the IP Address of the camera on the site network.
- Select the Store assignment from the dropdown. The store must already exist in the Regions and Stores configuration.
- Select “Save” to create the record.
Step 3: Edit a Camera Record
Section titled “Step 3: Edit a Camera Record”- Locate the camera in the table and select “Edit” in the Actions column.
- Update any fields as required — name, type, IP address, or store assignment.
- Select “Save” to apply the changes.
Changing the store assignment of a camera reassigns future analytics data to the new store. Historical data retains its original store association.
Step 4: Map a Camera to a Till
Section titled “Step 4: Map a Camera to a Till”Camera-to-till mapping tells Transpeye which till a specific camera is monitoring. This mapping is the foundation of the transaction anomaly detection feature — the system correlates what the camera observes (for example, a cash exchange or a customer interaction) with the transaction record from the till at that position.
To configure a mapping:
- Open the camera record via “Edit” in the Actions column.
- Locate the Till Mapping or Monitored Till field within the camera edit form.
- Select the till from the dropdown. Tills must be created before they can be mapped. See the Tills section of this guide.
- Select “Save” to confirm the mapping.
A camera can be mapped to one till. A till can have one or more cameras mapped to it, depending on the physical layout of the checkout area.
Step 5: Configure Analytics
Section titled “Step 5: Configure Analytics”Within the camera edit form, you can enable or configure analytics modes for the device:
- People Counting — when enabled, the camera tracks footfall through its field of view. This feeds the people-counting analytics dashboards and zone-level footfall reports.
- Tag Detection — when enabled, the camera watches for specific visual markers or tags within its field of view. This is used in specialist configurations where tagged items are being monitored.
Enable only the analytics modes that are relevant to the camera’s physical position and the customer’s requirements. Enabling unnecessary analytics modes may affect processing performance.
Overview
Section titled “Overview”The Tills page (/tills) lists all point-of-sale terminals registered to the active customer account. Each till record represents a physical checkout position. Till records are used to receive and contextualise transaction data from the connected POS system, and they serve as the reference point for camera-to-till mapping.
Step-by-Step Guide
Section titled “Step-by-Step Guide”Step 1: Open the Tills Page
Section titled “Step 1: Open the Tills Page”Select Tills in the left-hand navigation menu. The table displays:
- Till Name — a descriptive label for the terminal
- Store — the store location where the till is installed
- Mapped Cameras — the cameras assigned to monitor this till
Step 2: Create a New Till
Section titled “Step 2: Create a New Till”- Select “Add Till” above the table. The till creation form opens.
- Enter a Till Name that identifies the terminal. Use names consistent with the customer’s own naming convention (for example, “Till 1”, “POS-North”, or “Self-Checkout A”).
- Select the Store from the dropdown to assign the till to its physical location.
- Select “Save” to create the record.
Step 3: Map Cameras to the Till
Section titled “Step 3: Map Cameras to the Till”After creating the till, map cameras to it to establish the surveillance linkage. Camera mapping can also be configured from the camera side — see the Camera-to-Till Mapping step in the Cameras section above.
To map from the till side:
- Open the till record via “Edit” in the Actions column.
- Locate the Camera Mapping or Assigned Cameras section within the form.
- Select one or more cameras from the available list. Only cameras assigned to the same store appear as options.
- Select “Save” to apply the mapping.
Agents
Section titled “Agents”Overview
Section titled “Overview”The Agents page (/agents) lists the software agent processes deployed at the customer’s site. An agent is a lightweight background process installed on a local machine at the customer’s premises. Its role is to collect data from on-site systems (cameras, POS integrations, or network devices) and relay that data to the Transpeye cloud platform.
Each agent record in Transpeye represents one deployed instance of the agent software.
Step-by-Step Guide
Section titled “Step-by-Step Guide”Step 1: Open the Agents Page
Section titled “Step 1: Open the Agents Page”Select Agents in the left-hand navigation menu. The table displays all registered agent records for the active customer account, including the agent name and its current status.
Step 2: Create a New Agent Record
Section titled “Step 2: Create a New Agent Record”- Select “Add Agent” above the table.
- Enter an Agent Name that identifies the machine or site the agent is installed on (for example, “Main Office Server” or “Site-A Local Node”).
- Complete any additional required fields shown in the form, such as a description or site association.
- Select “Save” to register the agent.
Creating the agent record in Transpeye is the first step. You must also download and install the agent software on the physical machine at the customer’s site. See the guide on Exporting Data and Downloading Installers for instructions on obtaining the installer.
Step 3: Manage an Existing Agent
Section titled “Step 3: Manage an Existing Agent”- Locate the agent in the table and select “Edit” to update its name or associated details.
- To decommission an agent, select “Delete” in the Actions column and confirm the deletion.
Deleting an agent record does not uninstall the software from the customer’s machine. Ensure the software is also removed from the local device to prevent orphaned processes continuing to attempt a connection.
- Name devices consistently. Use a naming convention such as
[Type]-[Location]-[Number](for example, “CAM-Checkout-01”) across cameras, tills, and agents. Consistent naming makes it far easier to identify devices in alert logs and analytics dashboards. - Create stores before devices. Cameras and tills require a store assignment. Complete the Regions and Stores configuration before adding any devices.
- Map cameras to tills before going live. The anomaly detection feature requires camera-to-till mappings to function. Verify all mappings are in place before the customer begins live monitoring.
- One agent per site is typical. Most single-site customers require one agent. Multi-site customers may need one agent per premises, or a centralised agent if the network architecture permits it.
- Verify IP addresses on-site. IP addresses for cameras should be confirmed with the on-site IT contact. Incorrect IP addresses result in the camera appearing offline in the Transpeye platform.
Troubleshooting
Section titled “Troubleshooting”A camera shows as offline even though it is physically powered on. Verify the IP address in the camera record matches the actual device IP on the customer’s local network. Also confirm that the agent installed at the site is running and connected. If the agent is offline, cameras relying on it will also appear offline.
I cannot see a till in the camera mapping dropdown. The till must be assigned to the same store as the camera. Check both the till’s store assignment and the camera’s store assignment and ensure they match.
People-counting data is not appearing for a camera. Confirm that the People Counting analytics mode is enabled in the camera record. Also verify that the camera is assigned to a zone, as people-counting data is reported at the zone level.
An agent is showing as disconnected. Log in to the machine where the agent software is installed at the customer’s site and verify the agent service is running. Check network connectivity between the site machine and the Transpeye platform. If the service is running but the platform shows it as disconnected, restart the agent service and allow up to five minutes for the status to update.
I cannot find the Cameras, Tills, or Agents pages. Ensure you are operating in a customer’s context. These pages manage devices belonging to a specific customer account and are not accessible from the top-level Partner view. Switch to the relevant customer context via the Accounts page.