Case Management
Overview
Section titled “Overview”Case Management lets you group important alerts, video analytics events, and Hero Alert signals into a single investigation record. Instead of copying details into spreadsheets or emails, you can create a case in Transpeye, link the relevant evidence, record investigation notes, track activity, and export a case pack for handover or review.
Cases are customer-level records. Anyone with access to the customer’s Forensics area can view active cases when the feature is enabled for that customer. The feature is marked Beta, so your available controls may depend on your account configuration and permissions.
Step-by-Step Guide
Section titled “Step-by-Step Guide”Step 1: Open the Cases Page
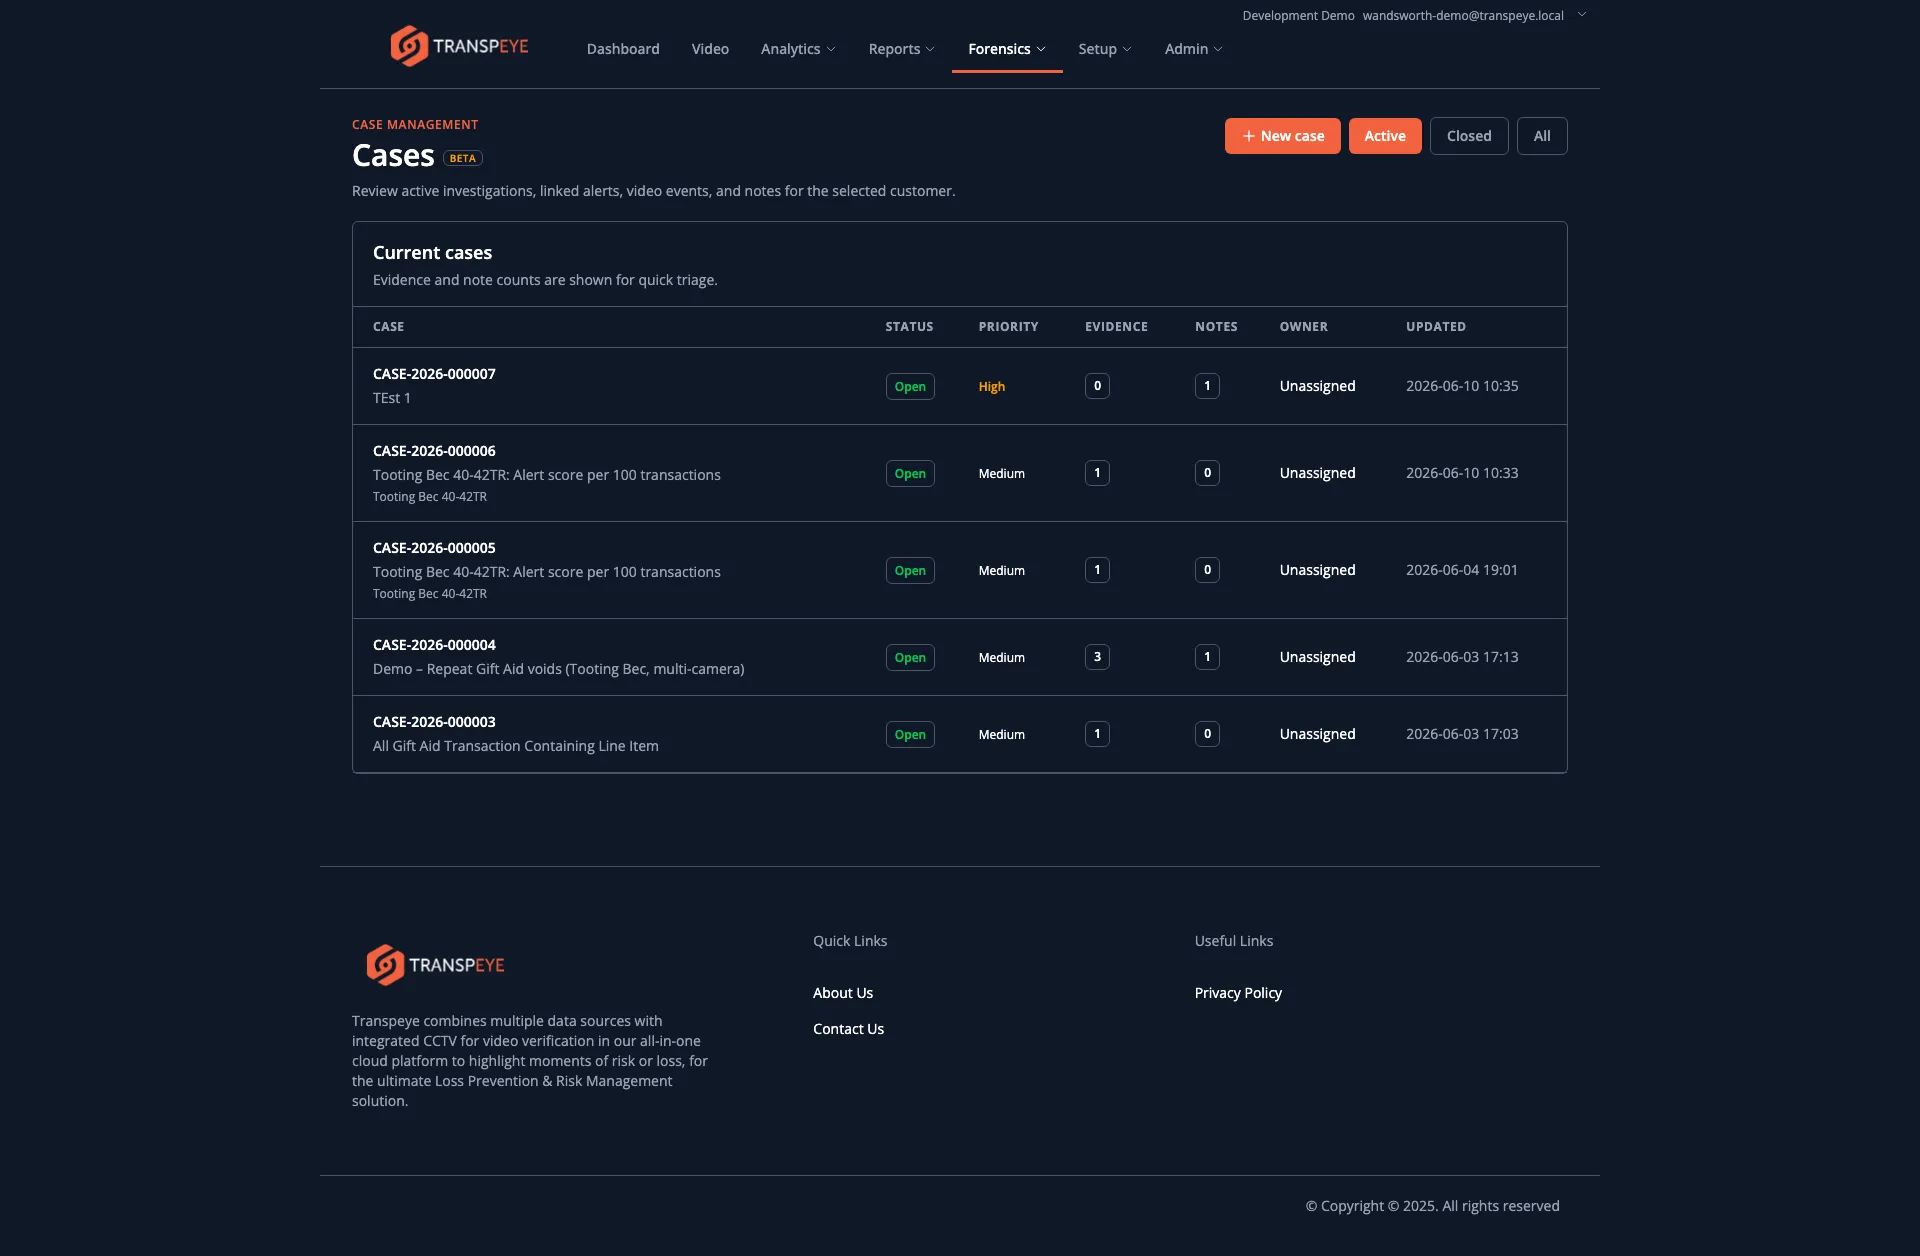
Section titled “Step 1: Open the Cases Page”In the navigation bar, click Forensics, then click Cases. The Cases page at /cases opens and shows the active investigation cases for the selected customer.
The default view shows cases with the Open or In Review status. Use the status filters at the top right to switch between:
| Filter | What it shows |
|---|---|
| Active | Open and In Review cases |
| Closed | Closed cases only |
| All | Every case for the current customer |
Each row shows the case number, case name, status, priority, evidence count, note count, owner, and last updated time.
Step 2: Create an Empty Case
Section titled “Step 2: Create an Empty Case”Use an empty case when you want to start an investigation before linking a specific alert or video event.
- Click “New case” on the Cases page.
- Enter a clear Name for the investigation.
- Choose the initial Priority.
- Click “Create case”.
Transpeye creates the case and assigns it a unique case number, such as CASE-2026-000004. Use the case number when discussing the investigation with colleagues or when referencing exported packs.
Step 3: Add an Alert, Video Event, or Hero Alert to a Case
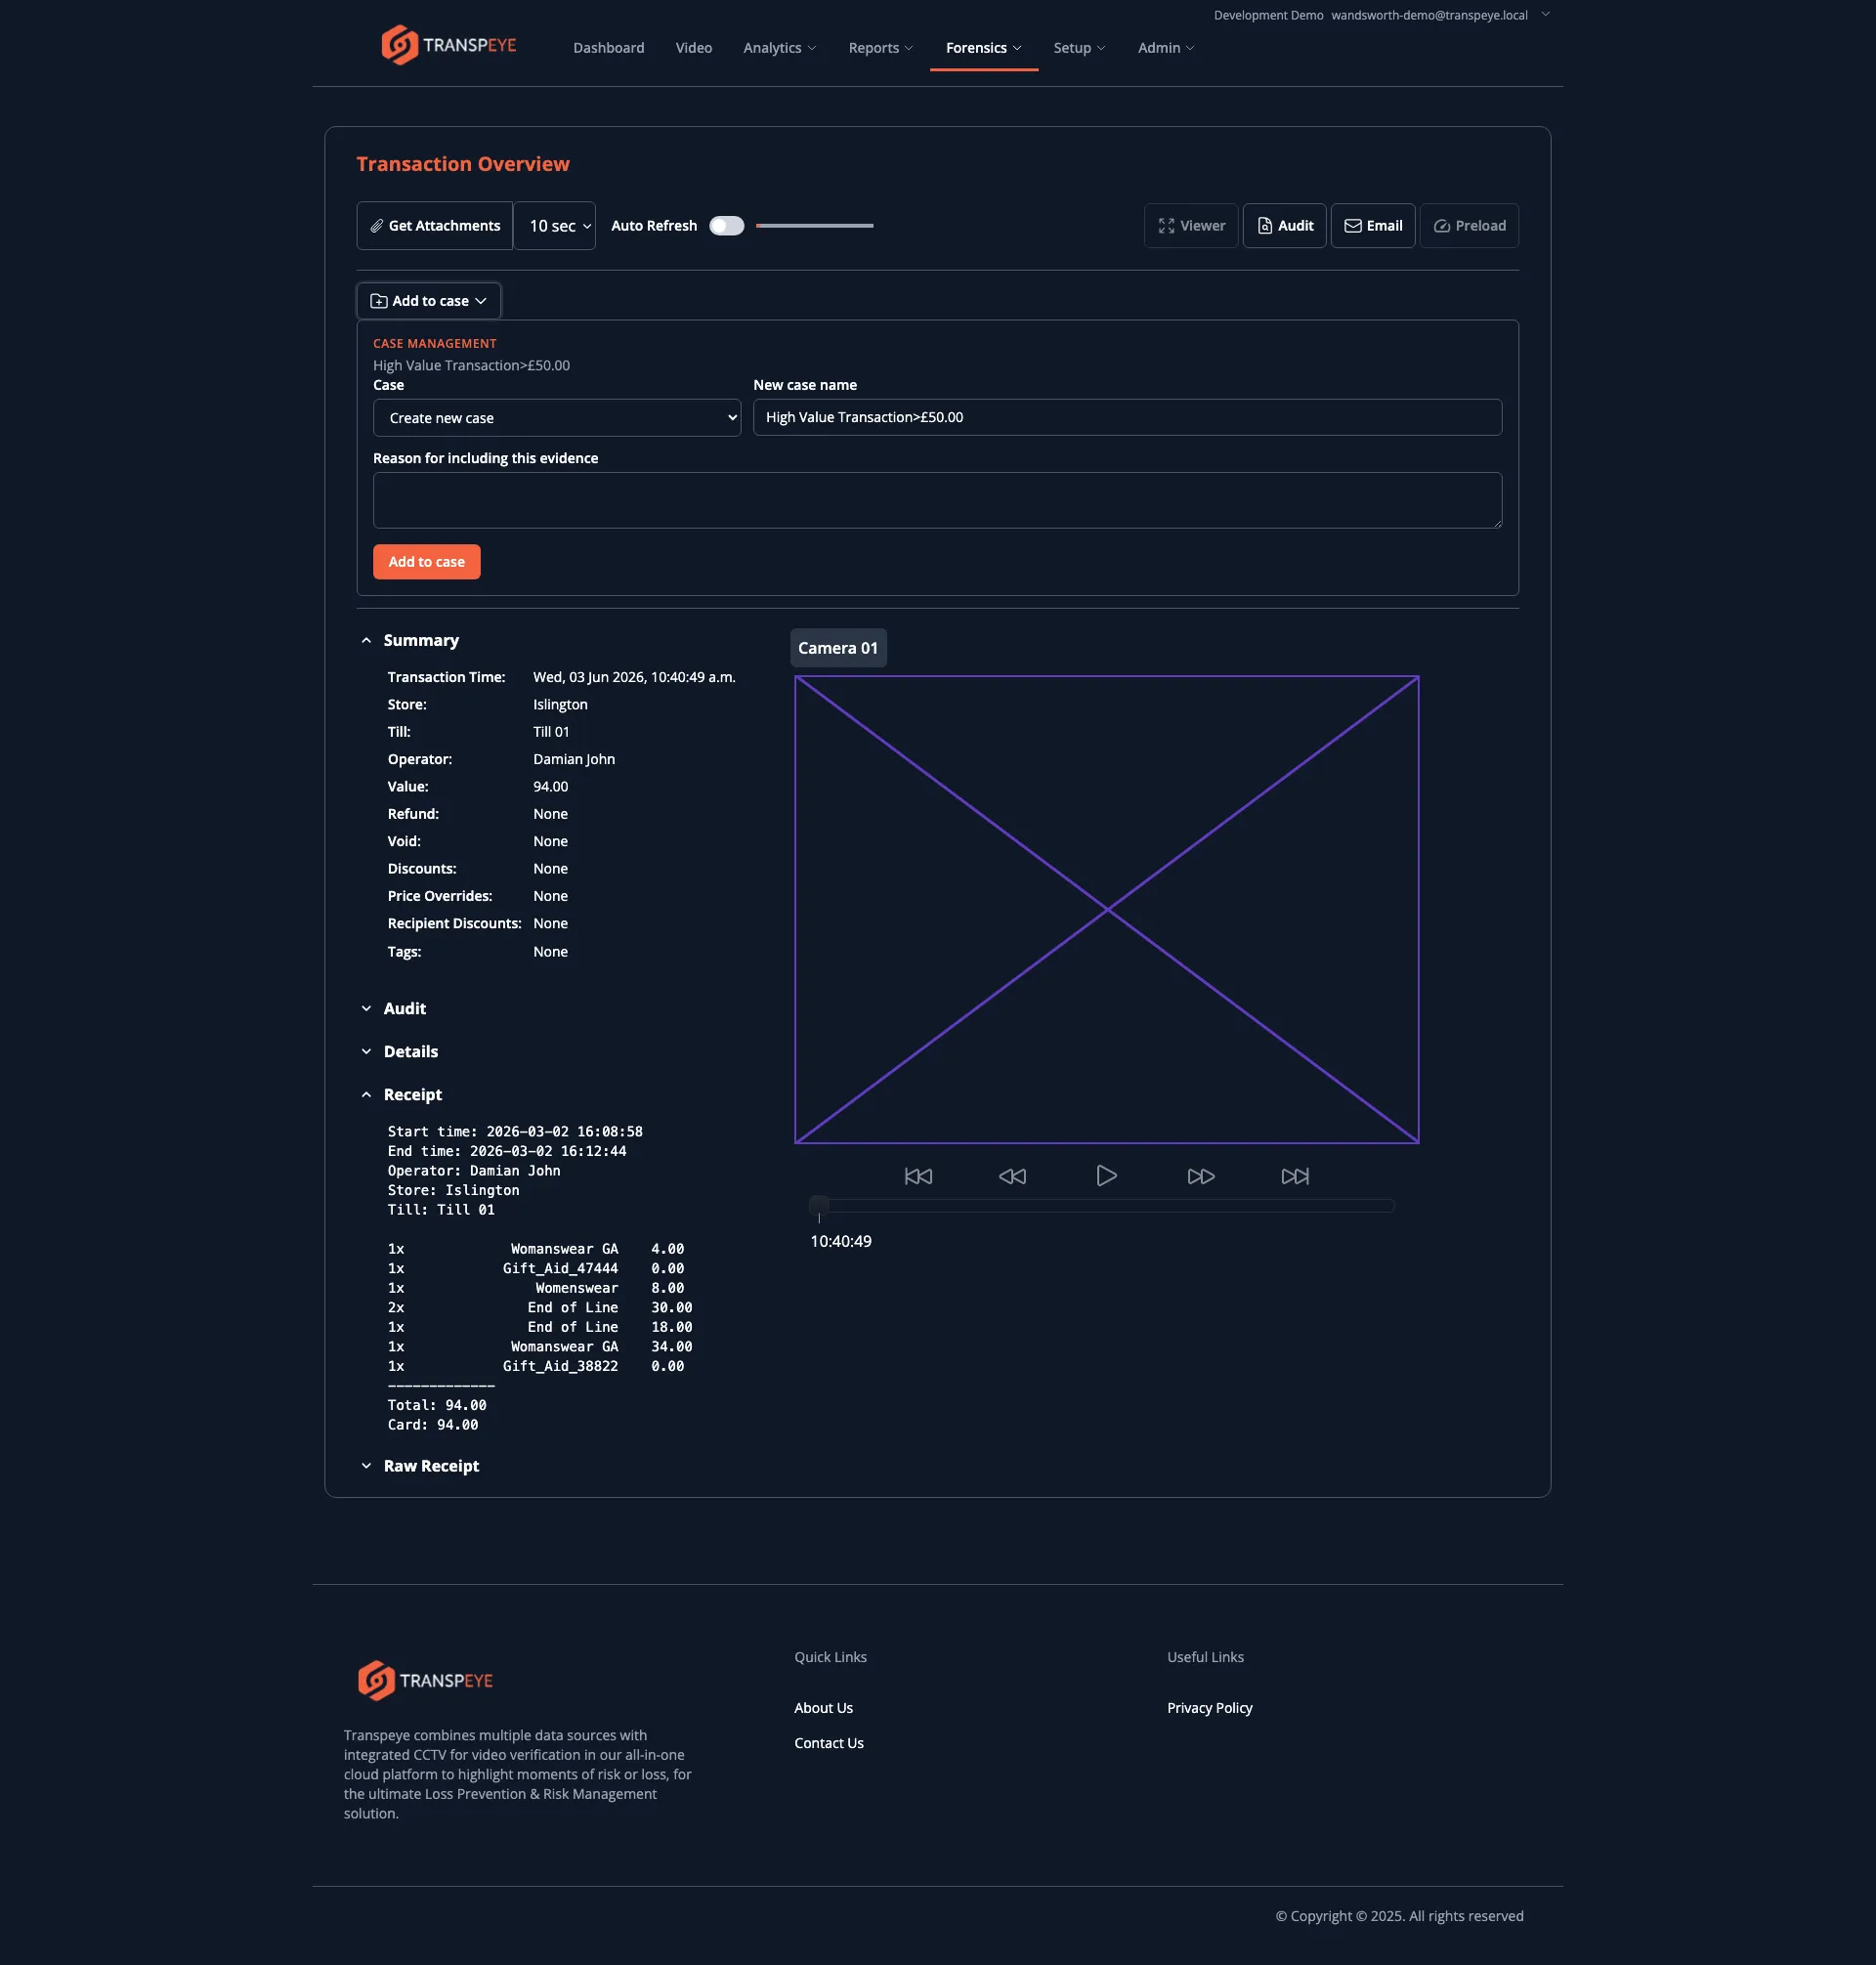
Section titled “Step 3: Add an Alert, Video Event, or Hero Alert to a Case”When you are reviewing an alert, transaction-linked alert, video analytics event, or Hero Alert, use “Add to case”, “Case”, or “Open case” to preserve it as evidence.
- Open the alert or video event detail page.
- Click “Add to case”.
- Select an existing case, or leave “Create new case” selected.
- If you are creating a new case, update the New case name if required.
- Enter a Reason for including this evidence so future reviewers understand why the item matters.
- Click “Add to case”.
For Hero Alerts, Transpeye preserves the signal context at the point of handoff, including the entity, metric, value, severity, peer comparison, and selected period.
The same evidence item can be linked to more than one case, but it can only appear once inside the same case. If the item is already linked, Transpeye shows the existing case number beside the Add to case control.
Step 4: Review the Case Detail Page
Section titled “Step 4: Review the Case Detail Page”Click a case number from the Cases table to open the case detail page.
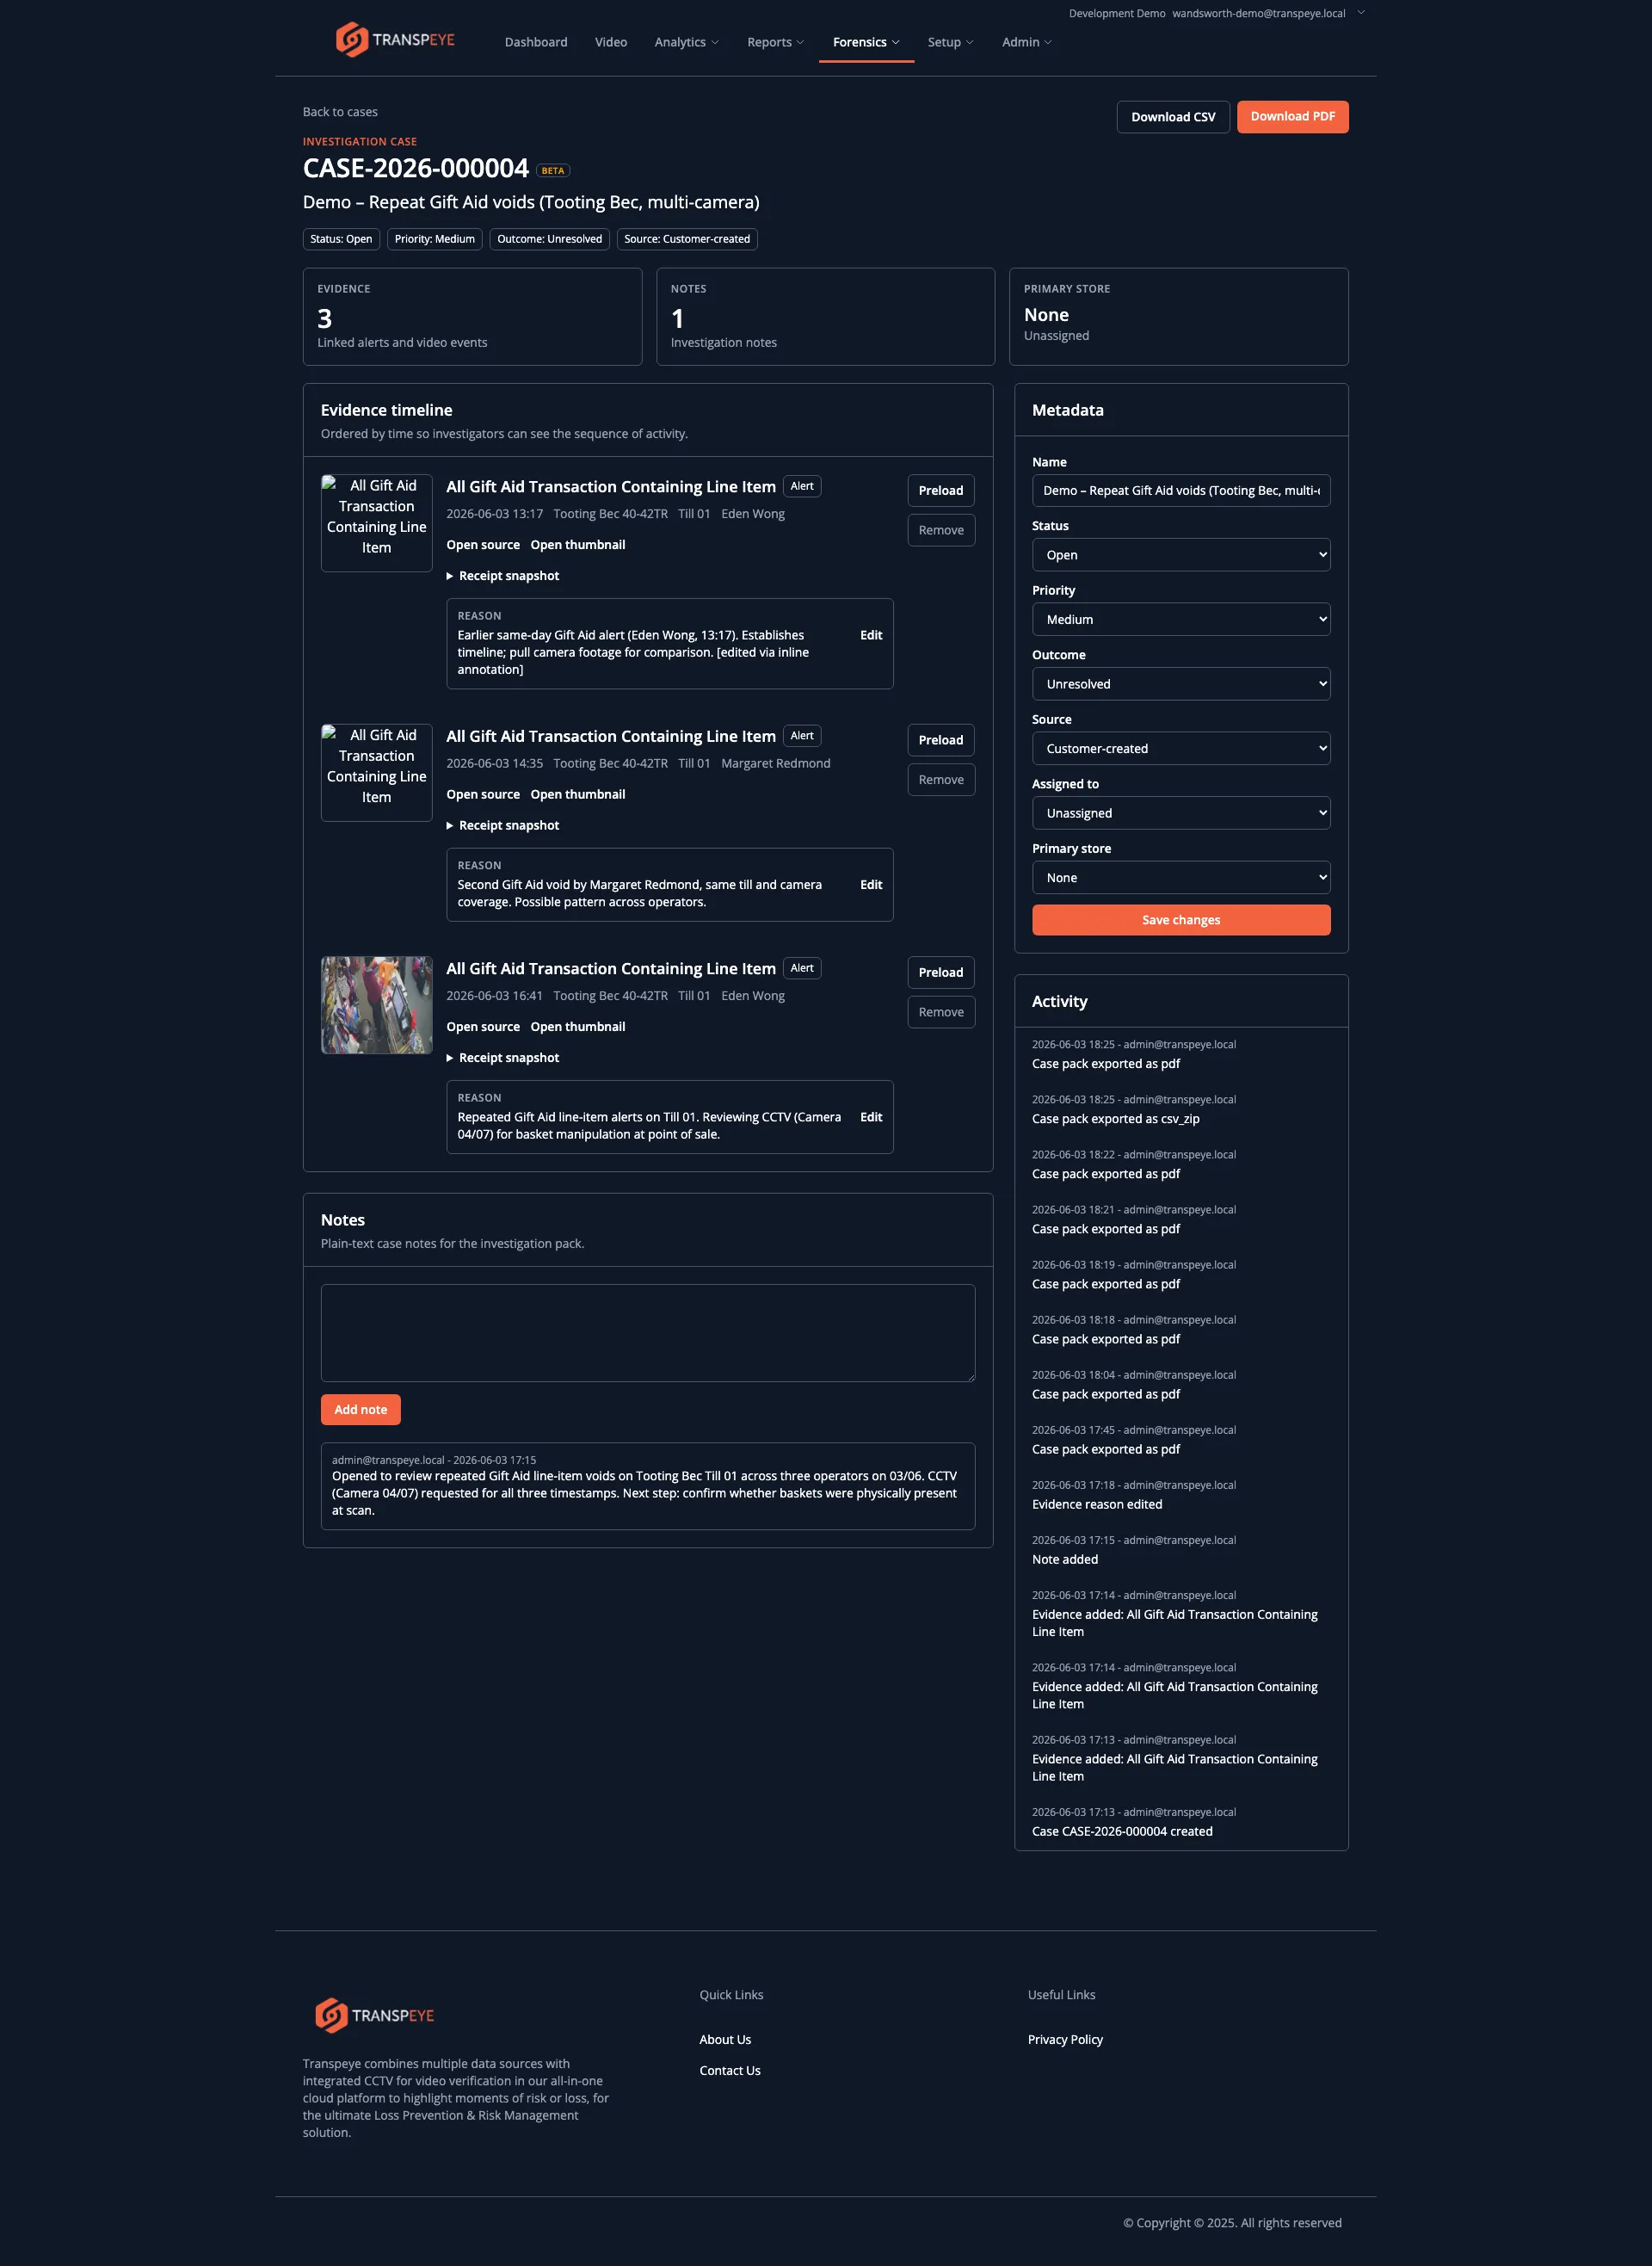
The case detail page includes:
| Section | Purpose |
|---|---|
| Case header | Shows the case number, case name, status, priority, outcome, source, evidence count, note count, and primary store. |
| Evidence timeline | Lists linked alerts, video events, and Hero Alert signals in chronological order. |
| Notes | Stores plain-text investigation notes against the case. |
| Metadata | Lets permitted users update the name, status, priority, outcome, source, assignee, and primary store. |
| Activity | Shows recent case activity, such as evidence added, notes added, reason edits, metadata changes, and exports. |
Each evidence row includes the evidence title, source type, timestamp, store, till, camera, operator, thumbnail status, source link, and reason for inclusion.
Step 5: Edit the Evidence Reason
Section titled “Step 5: Edit the Evidence Reason”Use the evidence reason to explain why an alert or video event belongs in the investigation.
- Open the case detail page.
- Find the evidence item in the Evidence timeline.
- Click “Edit” in the reason box.
- Update the reason.
- Click “Save”.
Reason changes are logged in the case activity history.
Step 6: Add Case Notes
Section titled “Step 6: Add Case Notes”Use case notes for investigation updates, decisions, and handover context.
- Open the case detail page.
- Scroll to Notes.
- Enter the note text.
- Click “Add note”.
Notes are plain text and preserve line breaks. They are append-only: add a new note when the investigation changes rather than rewriting earlier notes.
Step 7: Update Case Metadata
Section titled “Step 7: Update Case Metadata”Use the Metadata panel to keep the case current.
| Field | Use it for |
|---|---|
| Name | A human-readable investigation title. |
| Status | The case lifecycle: Open, In Review, or Closed. |
| Priority | The manual urgency rating: Low, Medium, High, or Critical. |
| Outcome | The investigation result, such as Unresolved, Escalated to customer, Confirmed issue, False positive, or No action. |
| Source | Whether the case was Customer-created or Transpeye-created. |
| Assigned to | The user responsible for follow-up. |
| Primary store | The main store associated with the case. |
Click “Save changes” after editing metadata.
Closed cases are read-only for normal editing. Depending on your role, you may be able to reopen a closed case from the metadata panel.
Step 8: Preload Evidence Media
Section titled “Step 8: Preload Evidence Media”If an evidence item has missing or pending media, click “Preload” beside that item. Transpeye requests the missing media from the source system and logs the preload attempt in the activity history.
Preloading does not guarantee that media will become available. Media may be unavailable if the source system is offline, if the clip has expired, or if the camera did not capture a frame at the relevant time.
Step 9: Export a Case Pack
Section titled “Step 9: Export a Case Pack”If exports are enabled for your account, the case detail page shows “Download PDF” and “Download CSV”.
| Export | Contents |
|---|---|
| A formatted case pack with the case header, summary timeline, evidence details, notes, available thumbnails or frames, receipt snapshots, source references, and activity summary. | |
| CSV | A zip file containing structured case, evidence, note, activity summary, and available media files. |
Exports are downloaded directly. Transpeye logs each export with the user, time, format, evidence count, case status, priority, and outcome at the time of export.
- Name cases for the investigation, not the first alert. A good case name should still make sense after more evidence has been added.
- Use reasons consistently. The reason field is the fastest way for another reviewer to understand why each evidence item was included.
- Keep notes factual. Notes appear in exported packs, so write them as a clear investigation record.
- Close cases when the review is finished. Closed cases stay available for review and export, but normal editing is restricted.
- Export after updating metadata. The PDF and CSV exports reflect the current case status, priority, outcome, notes, and evidence at the time you download them.
Troubleshooting
Section titled “Troubleshooting”| Problem | Solution |
|---|---|
| The Cases menu is not visible | Case Management may not be enabled for the selected customer, or your role may not include Forensics access. Contact your administrator. |
| The Add to case button is not visible | Case Management may be disabled for the customer, or the evidence type may not be supported for case linking. |
| I cannot edit a case | The case may be closed, or your user role may not allow editing or reopening that case. |
| I cannot download a case pack | Case exports require Case Management to be enabled and data exports to be allowed for the customer. |
| The same evidence will not add to a case twice | This is expected. The same evidence item can appear only once in the same case. |
| A thumbnail or video frame is missing | Click “Preload” to request missing media. If it remains unavailable, the source system may not have retained the media. |