Cameras and Live View
Overview
Section titled “Overview”Transpeye can display real-time camera snapshots from cameras connected to your surveillance system. The Live View feature at /live_view lets you monitor your sites in near real-time directly from the Transpeye web interface, without requiring a separate CCTV viewing application. The Cameras list at /cameras shows all cameras configured in your account and is primarily managed by partner or administrator users, but all users with standard access can use the Live View feature to watch feeds.
Step-by-Step Guide
Section titled “Step-by-Step Guide”Step 1: Open the Live View Page
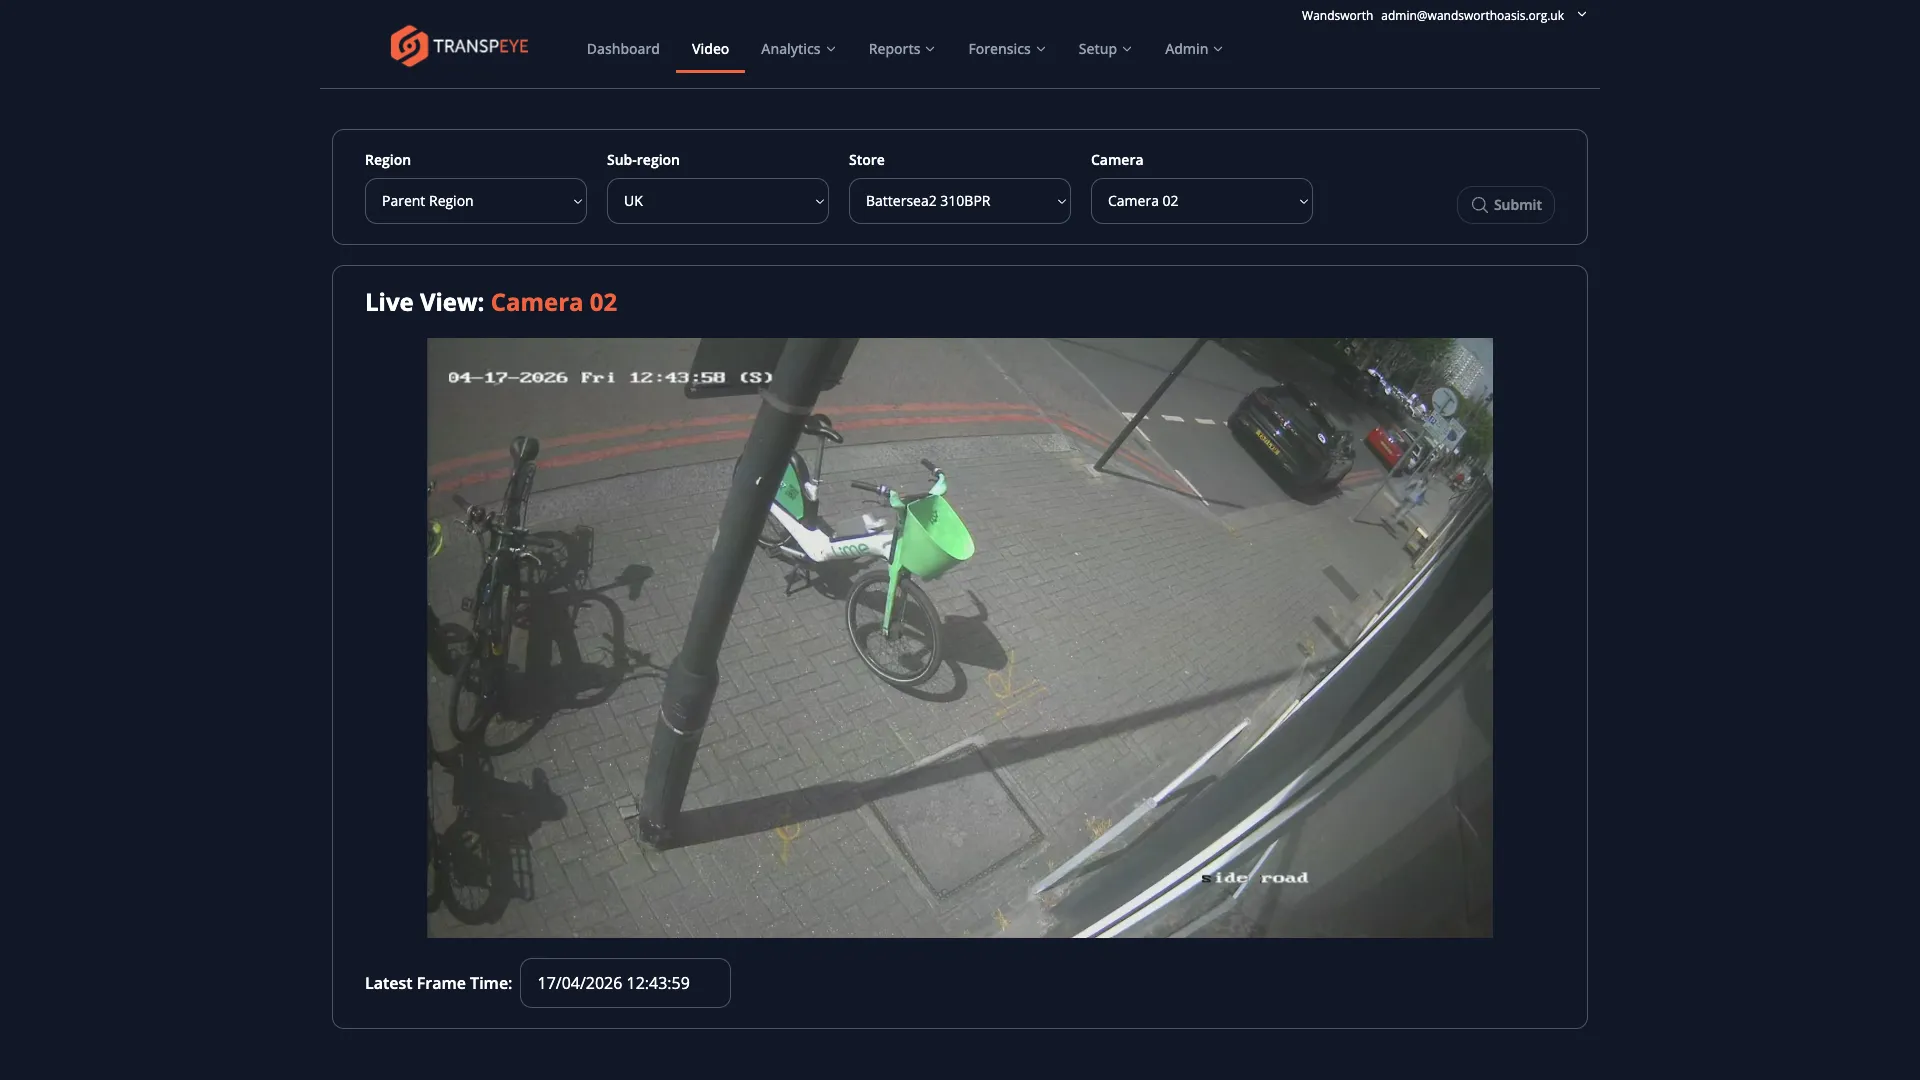
Section titled “Step 1: Open the Live View Page”In the navigation bar, click Video. The Live View page at /live_view loads immediately.
Step 2: Select a Camera to View
Section titled “Step 2: Select a Camera to View”The Live View page includes a set of filter dropdowns to help you navigate to a specific camera:
| Filter | Purpose |
|---|---|
| Region | Select the region where the camera is located |
| Sub-region | Select the sub-region within the selected region |
| Store | Select the store where the camera is installed |
| Camera | Select the specific camera you want to view |
If your account has only one region, sub-region, store, or camera, Transpeye automatically selects it for you and loads the feed immediately.
Work through the dropdowns from top to bottom. Each selection narrows the options in the dropdowns below it. Once you have selected a camera, the live snapshot panel on the right of the page updates to display the camera feed.
Step 3: View the Live Camera Snapshot
Section titled “Step 3: View the Live Camera Snapshot”The snapshot panel displays the most recent image captured from the selected camera. Snapshots are refreshed automatically at regular intervals, giving a near real-time view of the camera.
The panel shows:
- The latest camera snapshot image
- The camera name
- The time the snapshot was captured
If the snapshot is not current (for example, if the camera has not sent an image recently), the panel will show the last known image along with its capture timestamp. A stale timestamp may indicate a connectivity issue between the on-site agent and the Transpeye cloud server.
Step 4: Start or Stop Live View Streaming
Section titled “Step 4: Start or Stop Live View Streaming”To begin continuous snapshot streaming for the selected camera, click “Start Live View”. Transpeye sends a job to the on-site agent instructing it to begin capturing and uploading snapshots at a faster interval. The snapshot panel updates as each new frame arrives.
To stop the live view stream, click “Stop Live View”. This cancels the streaming job and returns the camera to its standard snapshot interval.
Note: Live View requires the on-site Transpeye agent to be online and connected. If the agent is offline, the Start Live View action will queue but not execute until the agent reconnects.
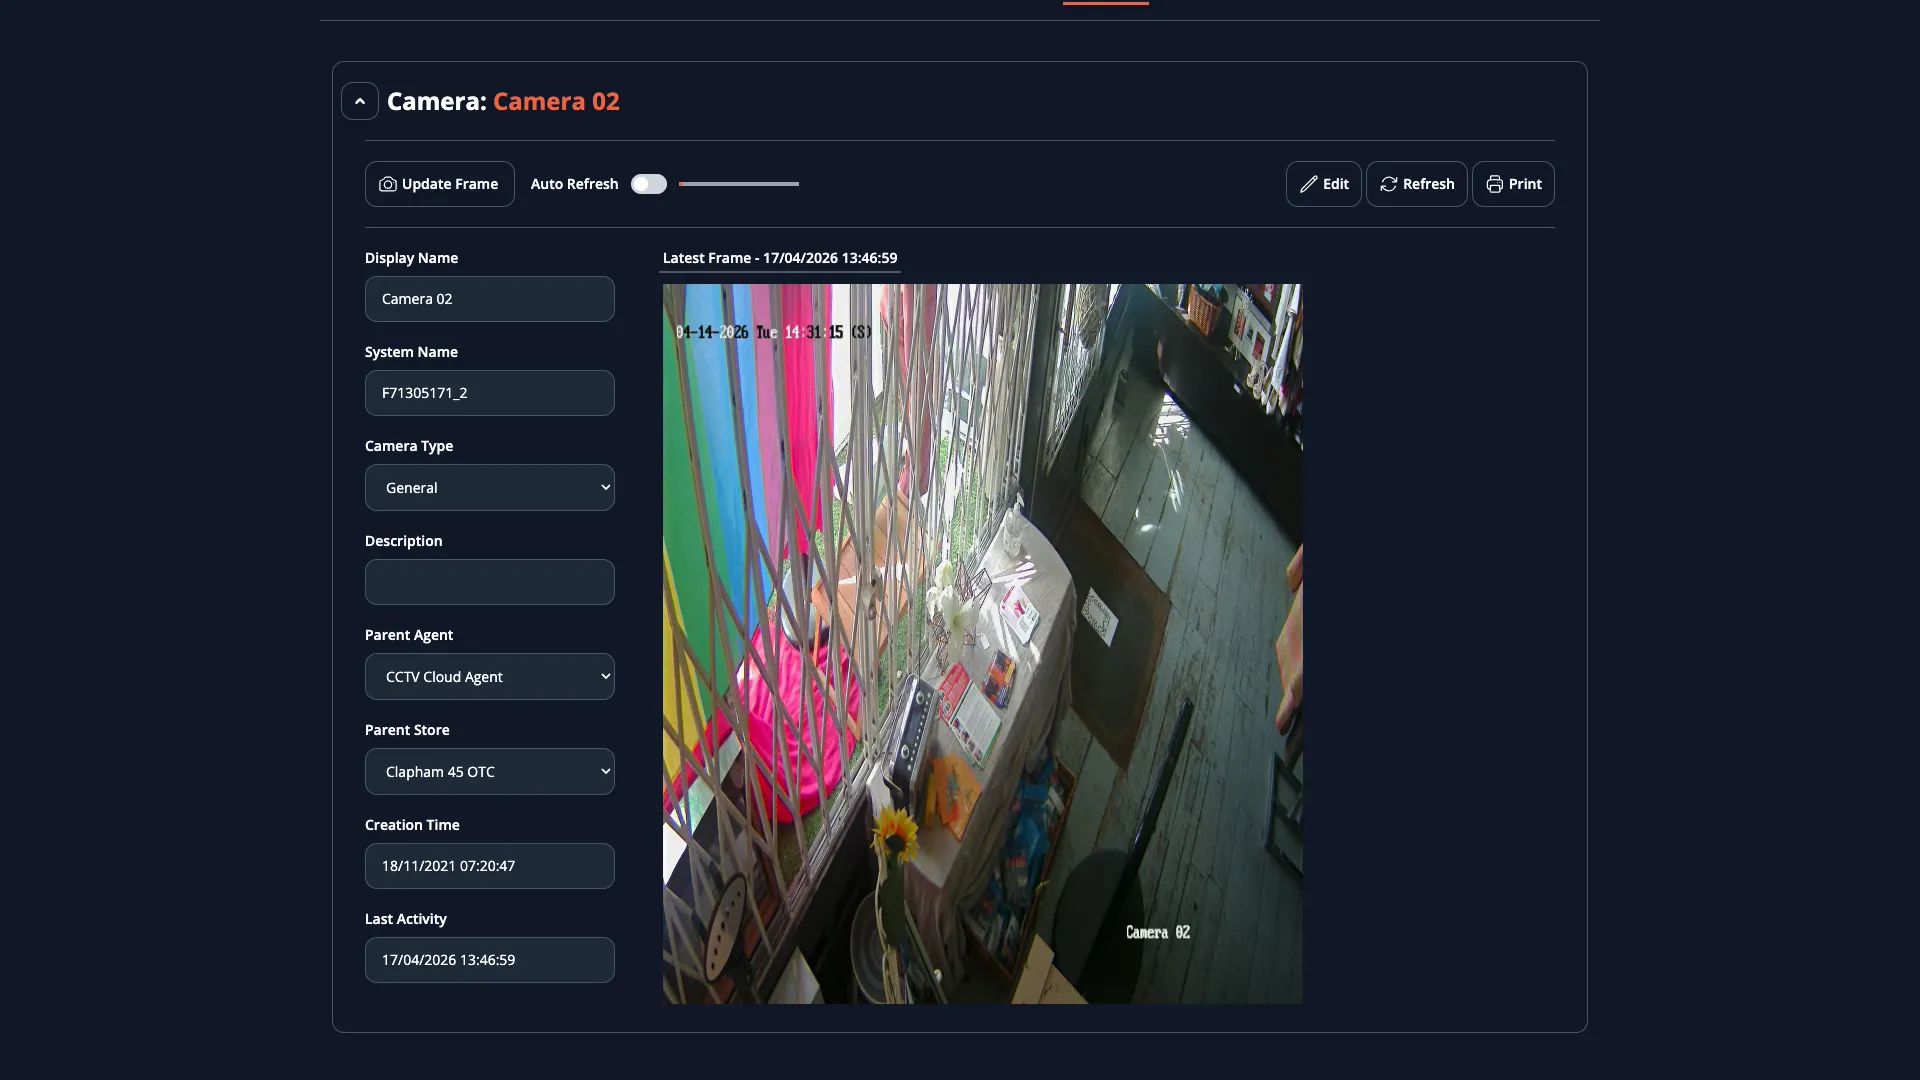
Step 5: View the Cameras List
Section titled “Step 5: View the Cameras List”To see a list of all cameras configured in your account, navigate to Setup > Cameras in the navigation bar, or go directly to /cameras. The cameras table shows:
| Column | Description |
|---|---|
| Camera Name | The name assigned to the camera during setup |
| Store | The store where the camera is installed |
| Agent | The on-site agent responsible for communicating with the camera |
| Last Activity | The time of the most recent frame or activity received from this camera |
| Status | Indicates whether the camera is online, offline, or in a live view session |
Click any camera row to open the camera detail view, where you can see the camera’s configuration, its linked tills (for transaction-to-video correlation), and its most recent snapshot.
- Use Live View for real-time incident monitoring. If you receive an alert notification and want to check current conditions at the site, navigate to Live View and select the relevant camera to see what is happening now.
- Check the snapshot timestamp. If the timestamp on the live view image is more than a few minutes old, the on-site agent may have gone offline or lost its network connection. Raise this with your administrator.
- Till-to-camera mapping enables transaction correlation. When cameras are mapped to specific tills in the system configuration, alert records for transactions on those tills automatically include the associated CCTV clip. This mapping is configured in the camera setup by your administrator.
- Start Live View only when needed. Starting the live view increases the frequency at which the on-site agent captures and uploads images, which uses more network bandwidth and storage. Stop the live view when you are finished monitoring.
- Camera access reflects your account. You can only view cameras that belong to your customer account. Partner users managing multiple accounts can switch between accounts to view each account’s cameras.
Troubleshooting
Section titled “Troubleshooting”| Problem | Solution |
|---|---|
| No cameras appear in the filter dropdowns | Your account may not have any cameras configured, or the cameras may all be assigned to a different account. Contact your administrator. |
| The snapshot panel shows a blank or placeholder image | The camera may be offline, or no snapshot has been received yet. Check the Last Activity column in the Cameras list to confirm when the camera last communicated. |
| Start Live View does not update the image | The on-site agent may be offline. Confirm the agent is running and connected. You can check agent status under Setup > Agents. |
| The snapshot is very out of date | The on-site agent may have lost connectivity. The image shown is the last one received before the connection was lost. Contact your administrator or on-site IT support. |
| Camera does not appear in the list | The camera may have been added to a different store or region, or your user account may not have access to that location. Contact your administrator. |